Europe Travel Packing Guide
Packing can be the elephant in the room when it comes to travel. With so many great cultures and sights to experience, Europe is a popular travel destination with endless options. Be realistic and decide what is absolutely necessary to bring along to have a pleasant experience. Less is more! Follow my 10 steps below to help prepare for your trip to Europe.
Brad and I took a three-week backpacking trip to Eastern Europe in September 2019. We explored Prague, Nuremberg, Salzburg, Hallstatt, Vienna, Bratislava, Budapest, and Krakow. Check out my blog posts covering these cities to get some inspiration.
My first trip to Europe was in August/September 2012. My brother, Clayton, and I spent two and a half weeks backpacking in Amsterdam, Delfzijl, and Appingedam in The Netherlands, Cologne, Lucerne, Paris, and Bruges. We had an amazing time with his friends from college, Sven and Eelke, who really made our experience in Holland unforgettable. However, I definitely overpacked for my first trip overseas and learned from my mistakes.

Step 1: Check the Weather
Once you have your vacation planned it's time to check the weather. Many European countries have variable seasons and the time of year will determine your wardrobe. Research average weather temperatures and rainfall for the cities you will be visiting. Do you get cold easily? Are you used to humidity and 100°F? Choose clothes that are functional and hassle-free.
Step 2: Activities
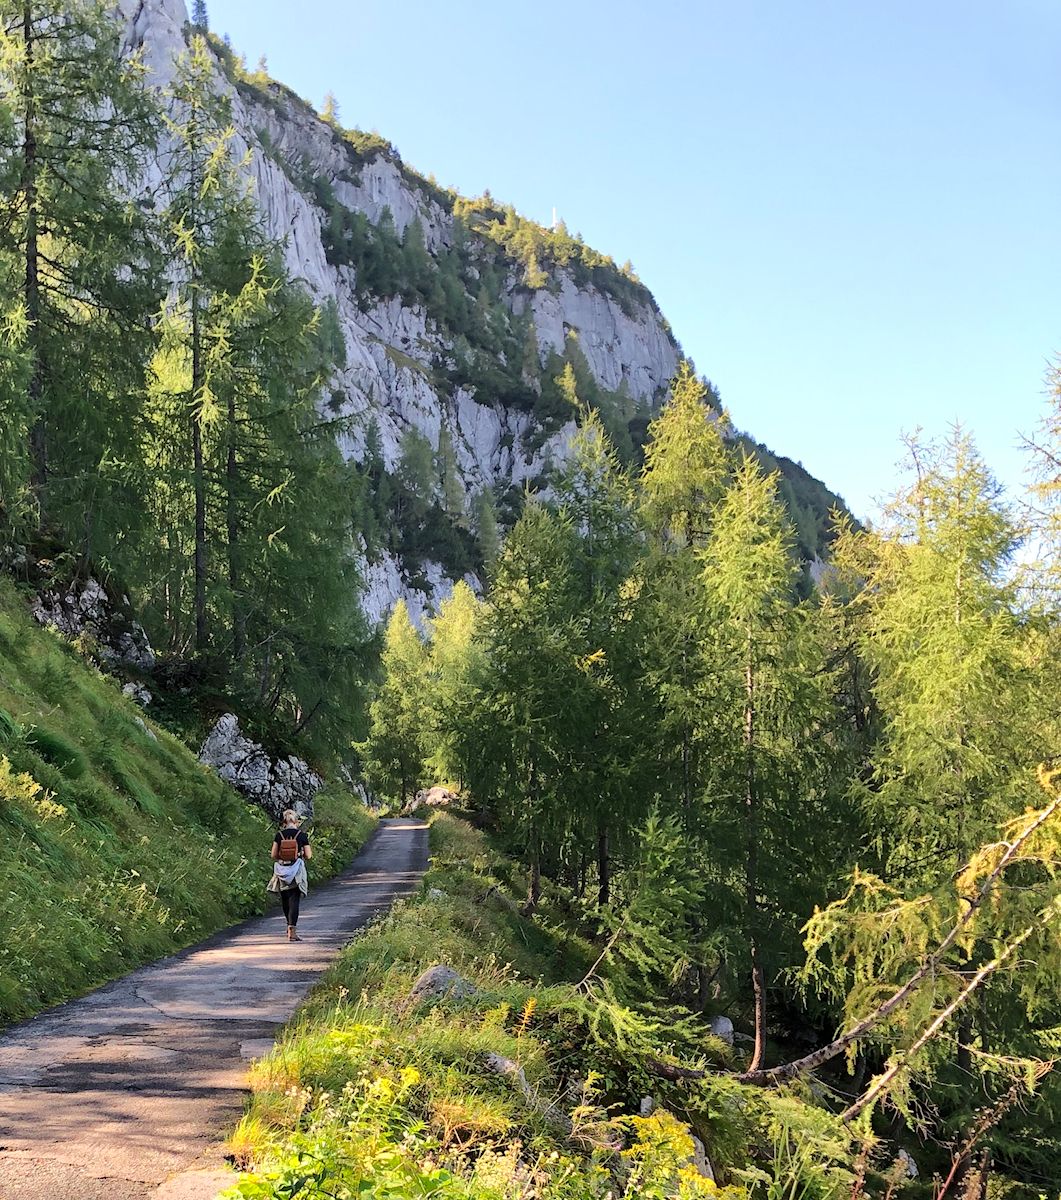
Going for a hike in the Alps or a bike ride in the city? Proper footwear and clothing are essential to fully enjoy your excursions. Prepare for cobblestone streets, winding staircases, gravel paths, and puddles.
Break in new footwear at least one month before your trip to avoid blisters. You will walk a lot! One minute you could be touring the market square with a sweater and the next sweating profusely after climbing up a steep hill to explore a castle. Layers do come in handy!
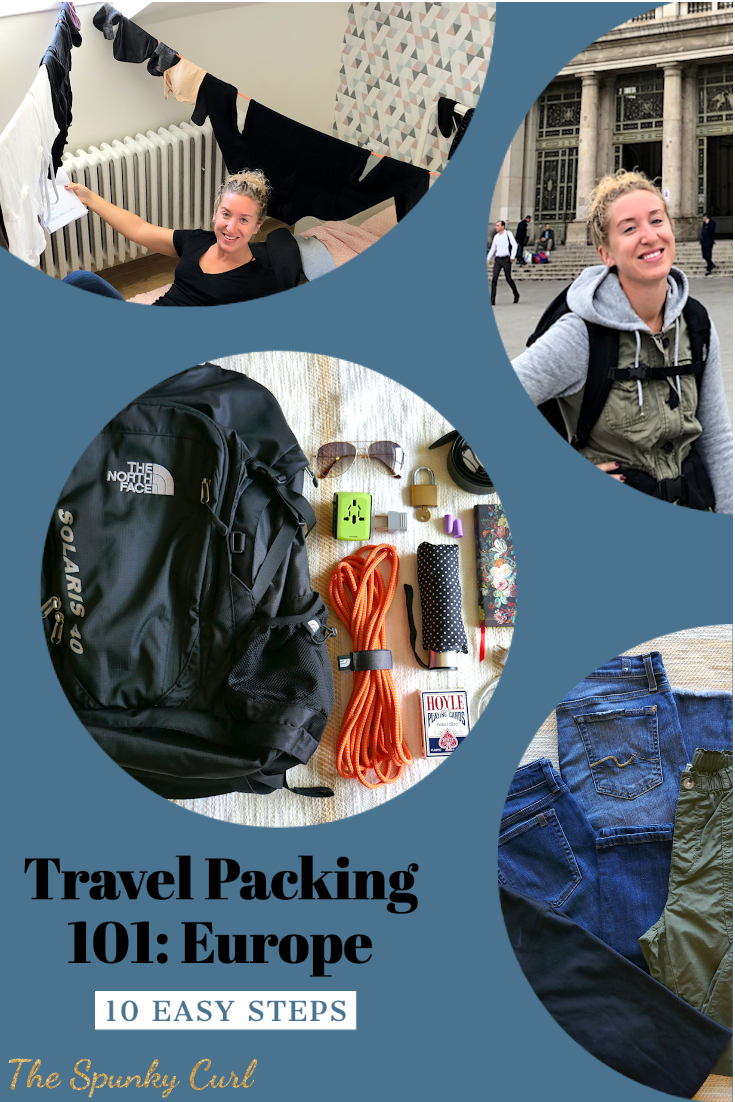
Step 3: Laundry Situation
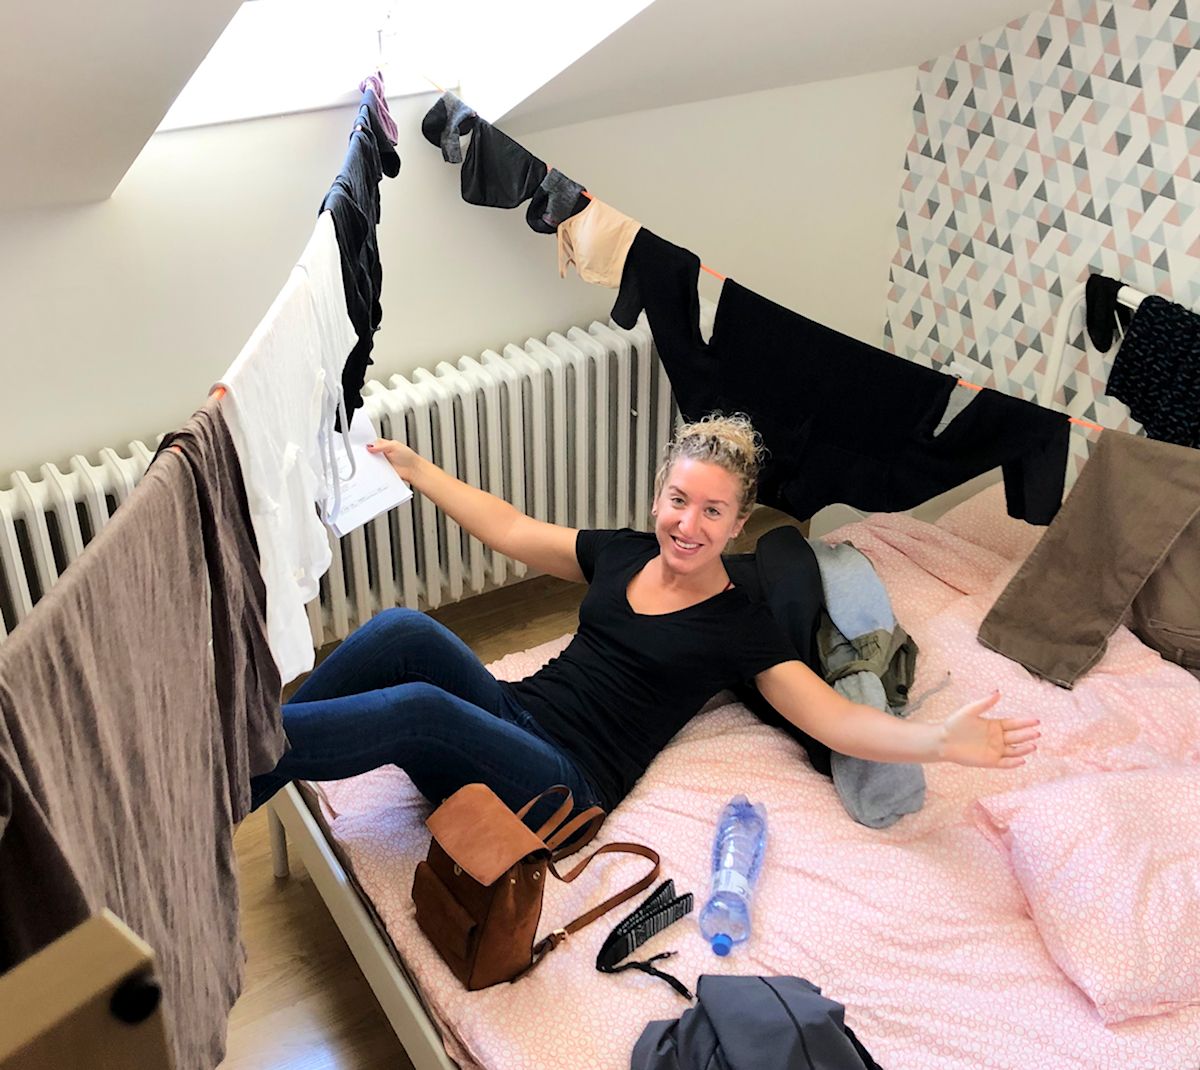
Booking a place to stay with laundry facilities is worthwhile, especially if you plan to pack light. Some Airbnb apartments and hostels have washers and dryers for a small fee which includes detergent. Brad and I tried to have laundry options in every accommodation we booked.
Not all places have dryers, so expect to air dry your clothes on hangers. We brought a piece of orange rope that we used as a makeshift clothesline. Plastic grocery bags are a practical way to keep dirty clothes separate from clean clothes in your luggage.
Step 4: Luggage
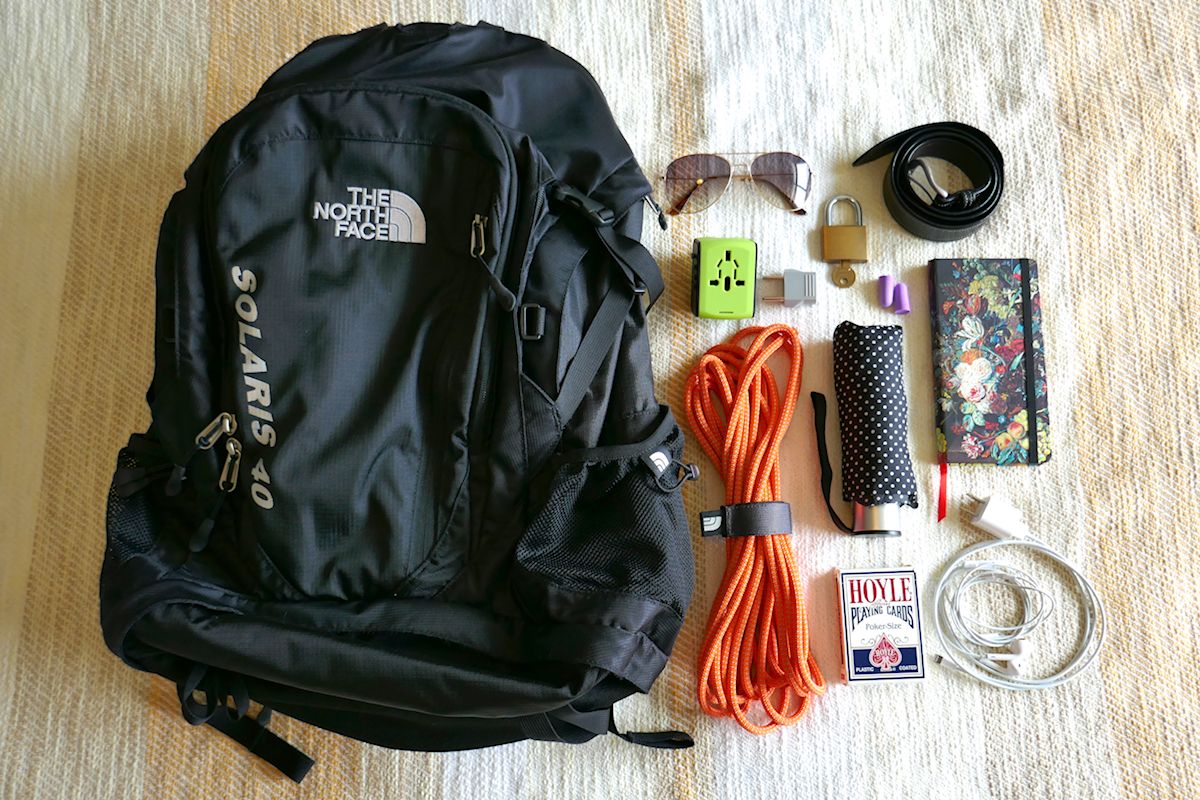
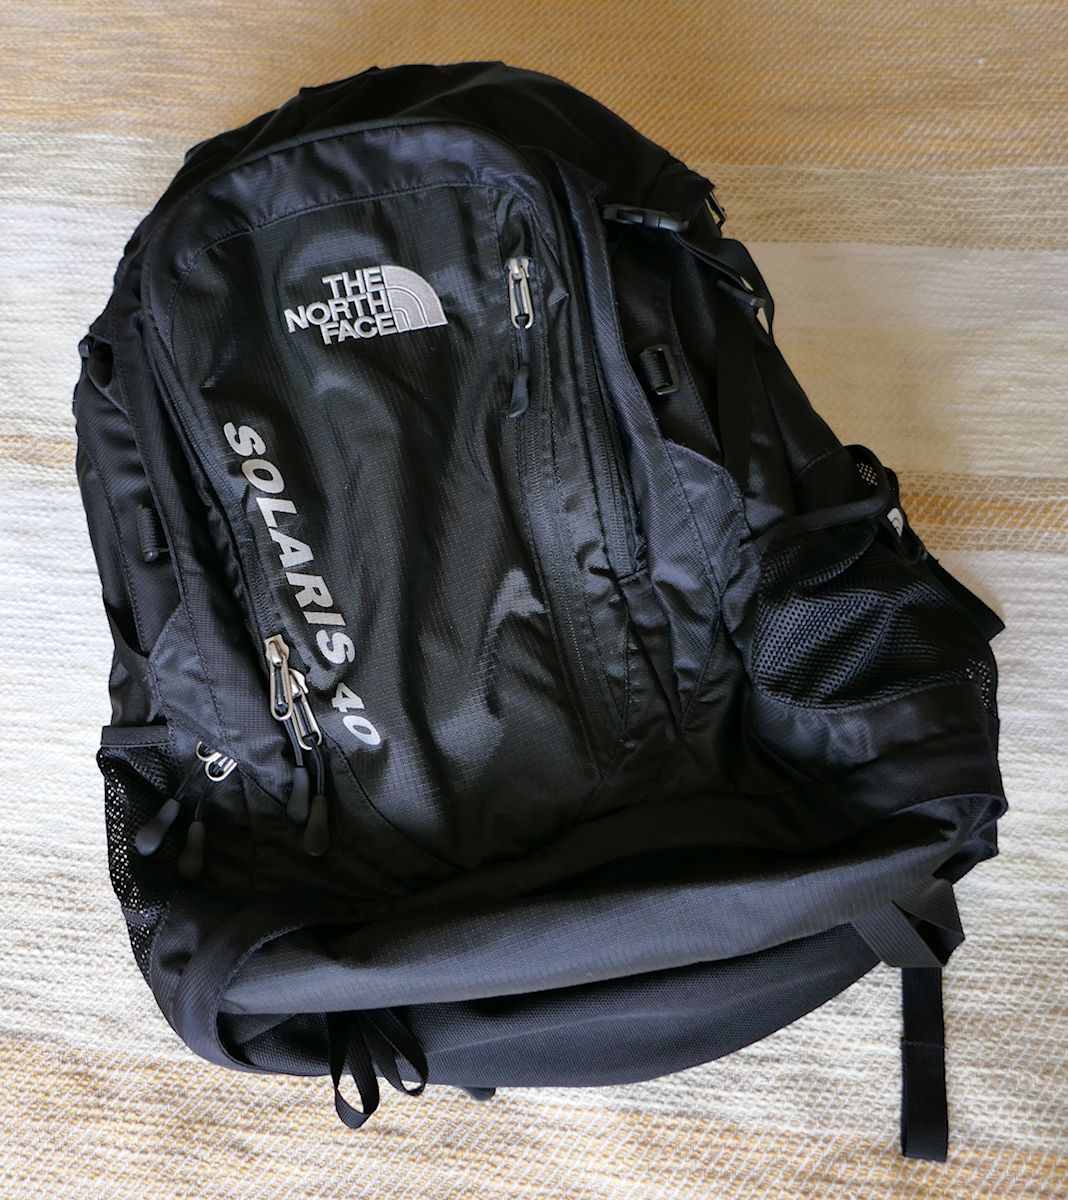
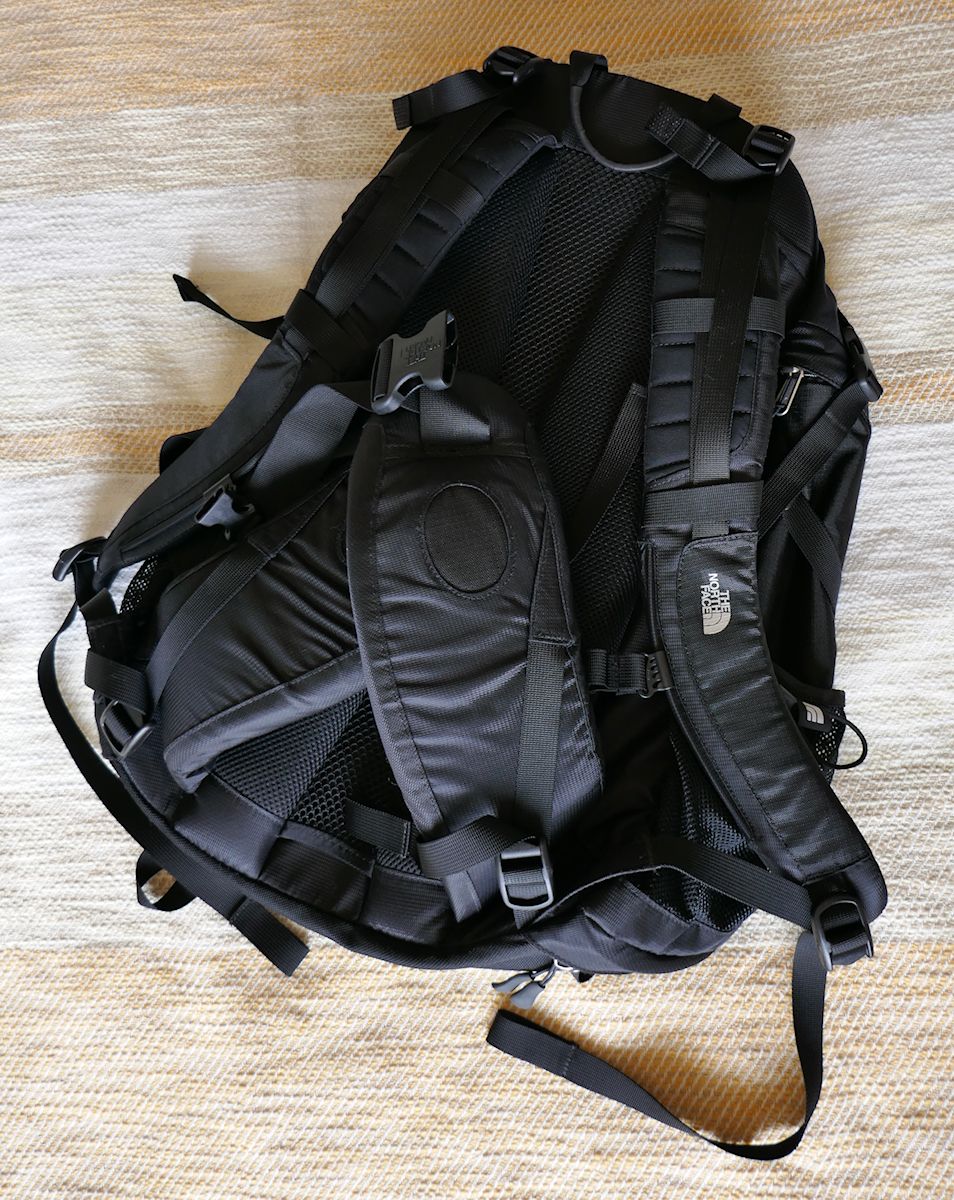
If you are backpacking, choose a pack that fits your body and needs. For both trips I used my trusty The North Face Solaris 40L backpack. While this backpack is no longer available, it has front loading capability that allows for organization similar to using a suitcase.
Brad used a top loading The North Face Terra 30L backpack which we borrowed from a friend. He would've liked additional side zippers for quick access to the main compartment. Decide which features matter most to you and invest in a quality pack that will hold up on your travels.
Brad and I were hopping onto trains every few days and appreciated the mobility of our backpacks, which were also easy to cram into train station lockers. However, if you are taking a river cruise or staying in a place for a week at at time, a carry-on or suitcase could be an option. European sidewalks are not always ideal for suitcase wheels. You've been warned!
Step 5: Toiletries
If you are not checking your luggage on your flight, you will have to adhere to the 3-1-1 rule. The real estate in your clear quart bag is precious and I recommend bringing the essentials you will have a hard time finding at your destination.
For example, I packed my favorite face moisturizers, contact solution, face wash, hair gel, and perfume. Between the two of us, Brad and I were able to also pack toothpaste, shampoo, conditioner, body wash, and lotion. We bought additional shampoo and conditioner once we ran out midway through the trip. I forgot to pack sunscreen and would suggest some at least for your face when you plan to be outdoors.
In a small canvas bag I packed other supplies including q-tips, one razor, tweezers, one mini loofa, a comb, a toothbrush, contacts, nail clippers, ponytails, band-aids, small plastic baggies, chapstick, sanitizer wipes, Advil, Pepto-Bismol, DayQuil, NyQuil, and Emergen-C. I kept my makeup minimal and didn't wear it every day. I brought powder foundation, blush, mascara, and a small eyeshadow trio.
I highly recommend bringing trusted medications. Brad got sick in Vienna halfway through the trip and used the majority of our DayQuil and NyQuil. After a queasy bus ride to Nuremberg, I felt extremely nauseous and was relieved to have Pepto-Bismol tablets. I always kept Advil in my daypack for occasional headaches and back pain.
Step 6: Clothing
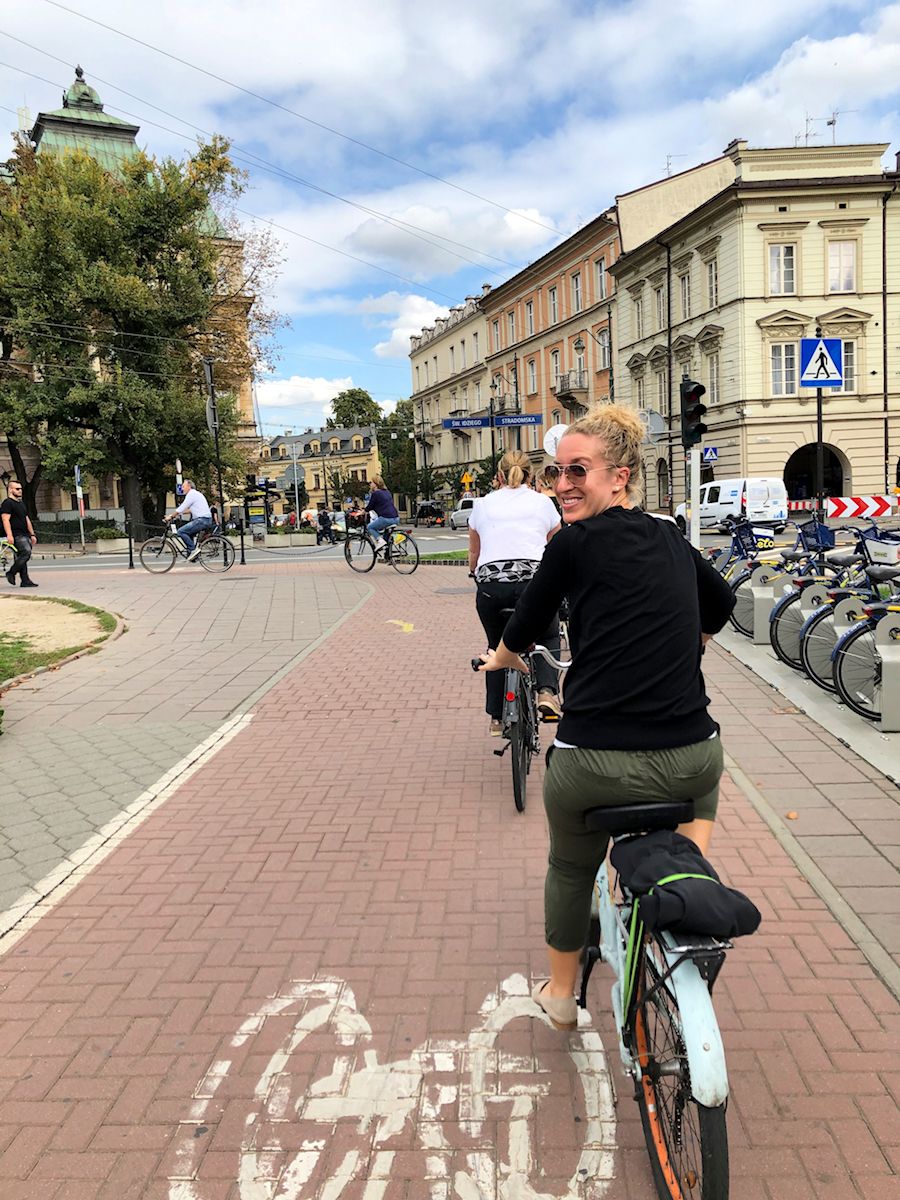
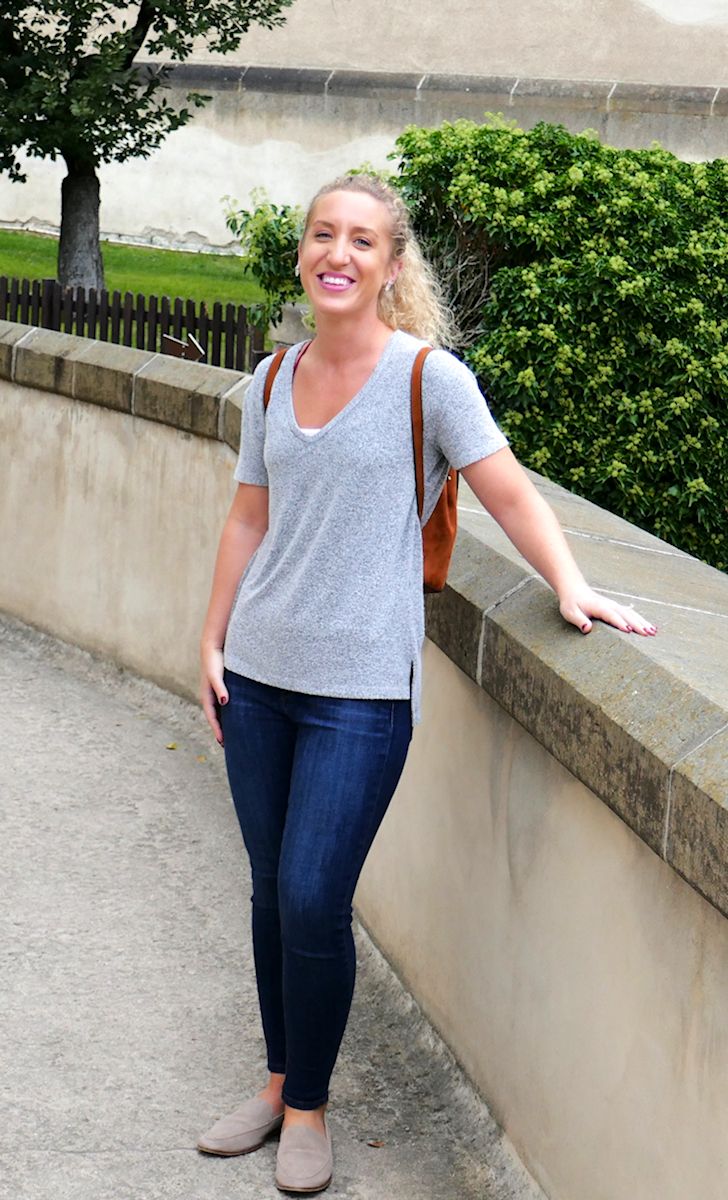
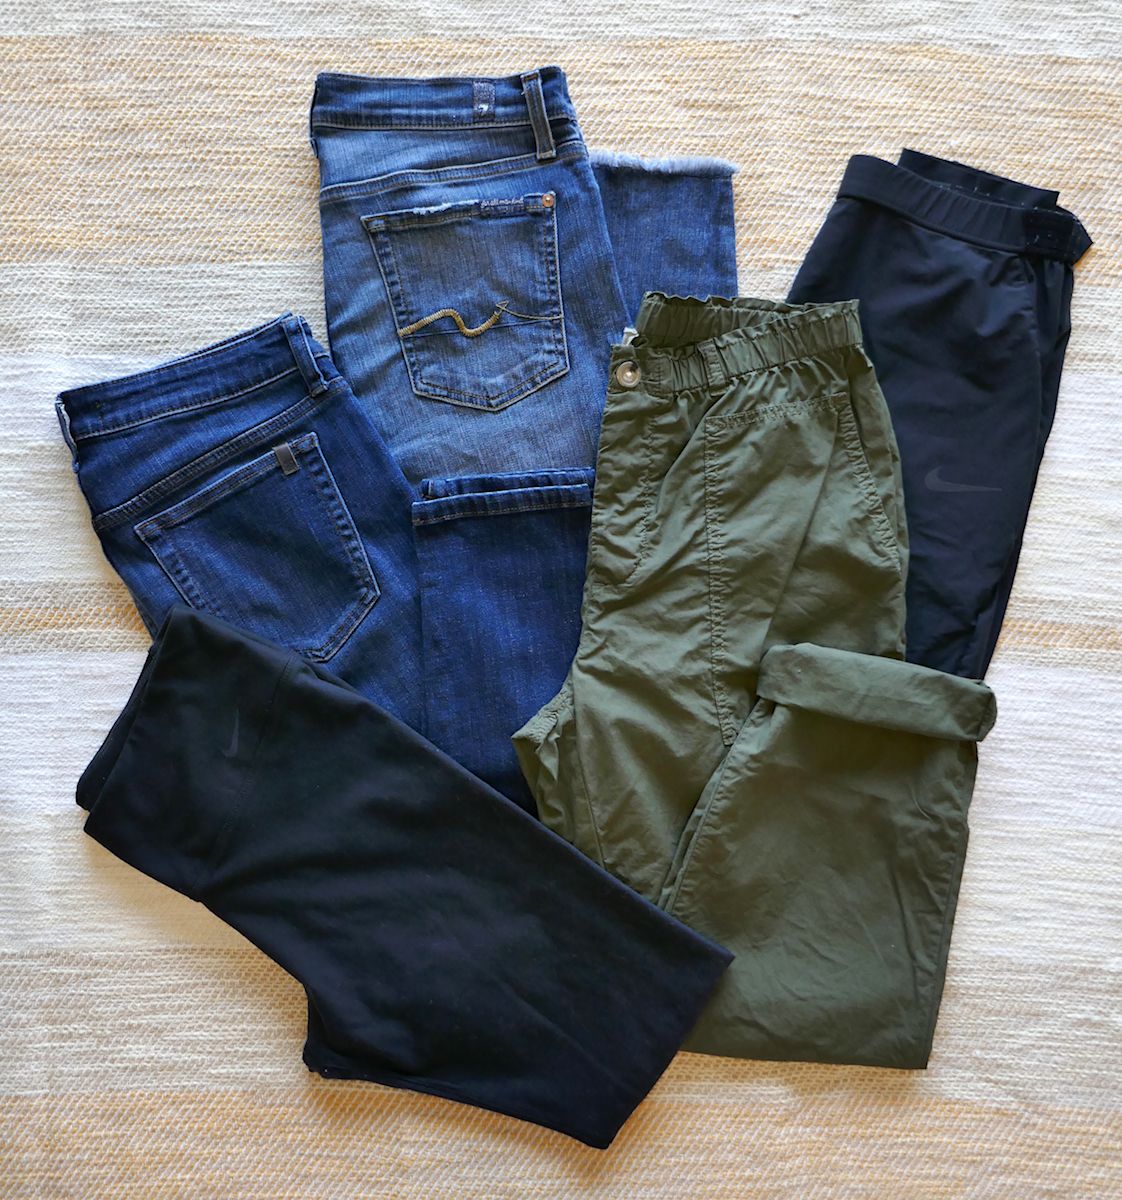
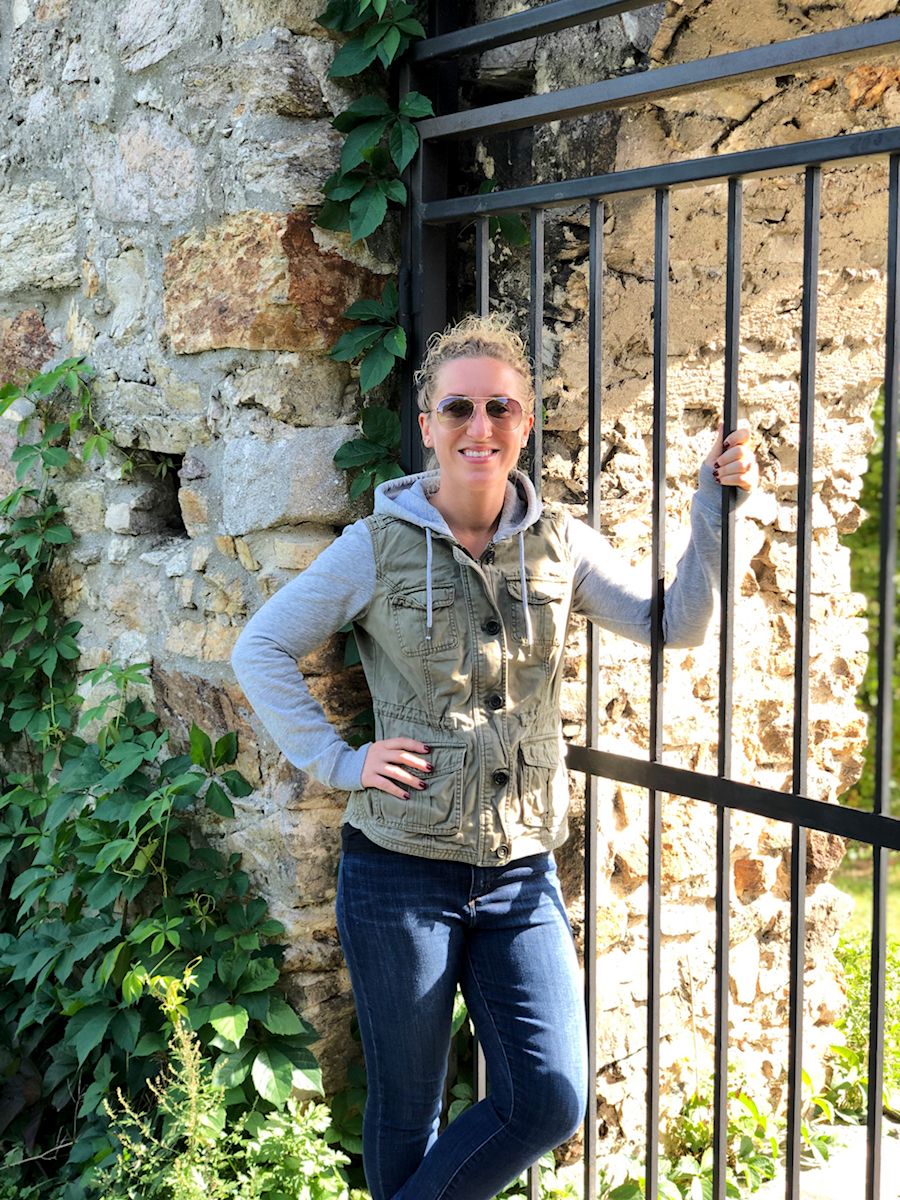
Choosing earth tones such as dark blue, black, grey, white, green, brown, and cream makes it easier to interchange pieces for numerous outfit combinations. Classic silhouettes and natural colors will help you blend in even though you are a tourist.
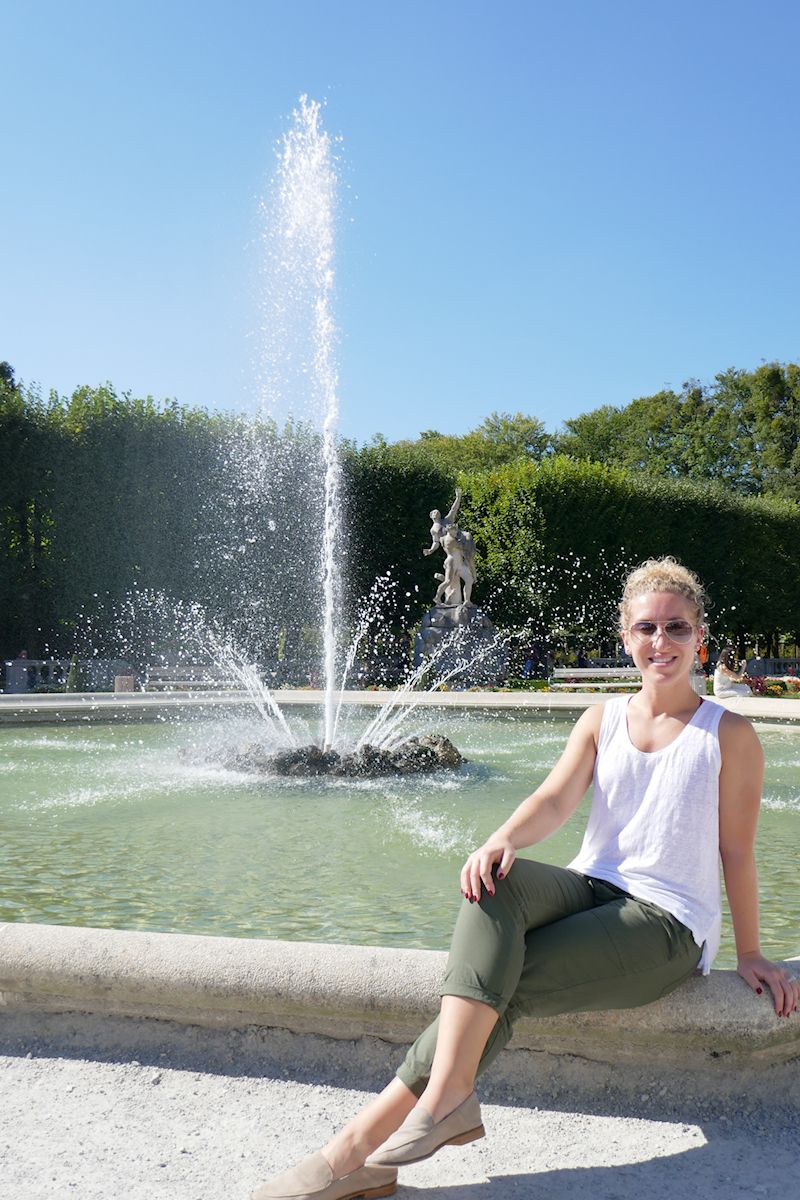
I packed two pairs of my most comfortable blue jeans, a breathable pair of green capri pants, a pair of black leggings, and a pair of lightweight black track pants. I wore the leggings and track pants on flights and travel days with my hiking boots. The leggings were great for our Eagle's Nest hike and didn't take up a lot of space in the backpack.
For warmer days and special dinners, I wore a simple knee-length black polyester dress. Packing a conservative dress is wise if you plan on touring cathedrals and churches. Some religious sites have dress codes and adding a simple cardigan can provide additional coverage. I suggest packing at least one long sleeve t-shirt, two t-shirts, and one tank top.

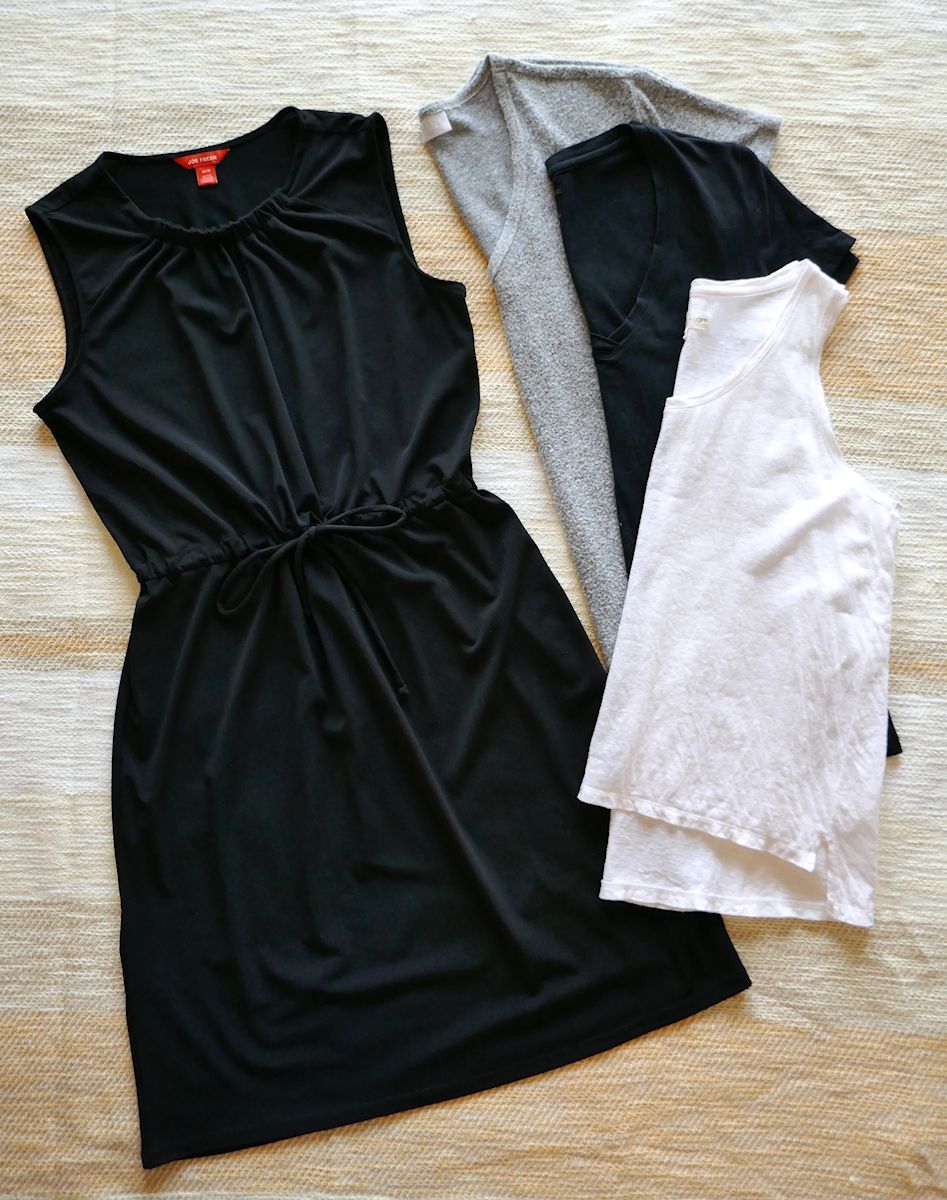
Since it was fall, I wore my black The North Face Apex Bionic II jacket on cold and rainy days. I layered a hoodie underneath when it was necessary. I packed a black sweater and cream cardigan as well. Sweaters take a while to air dry, but I was happy to have warm options.
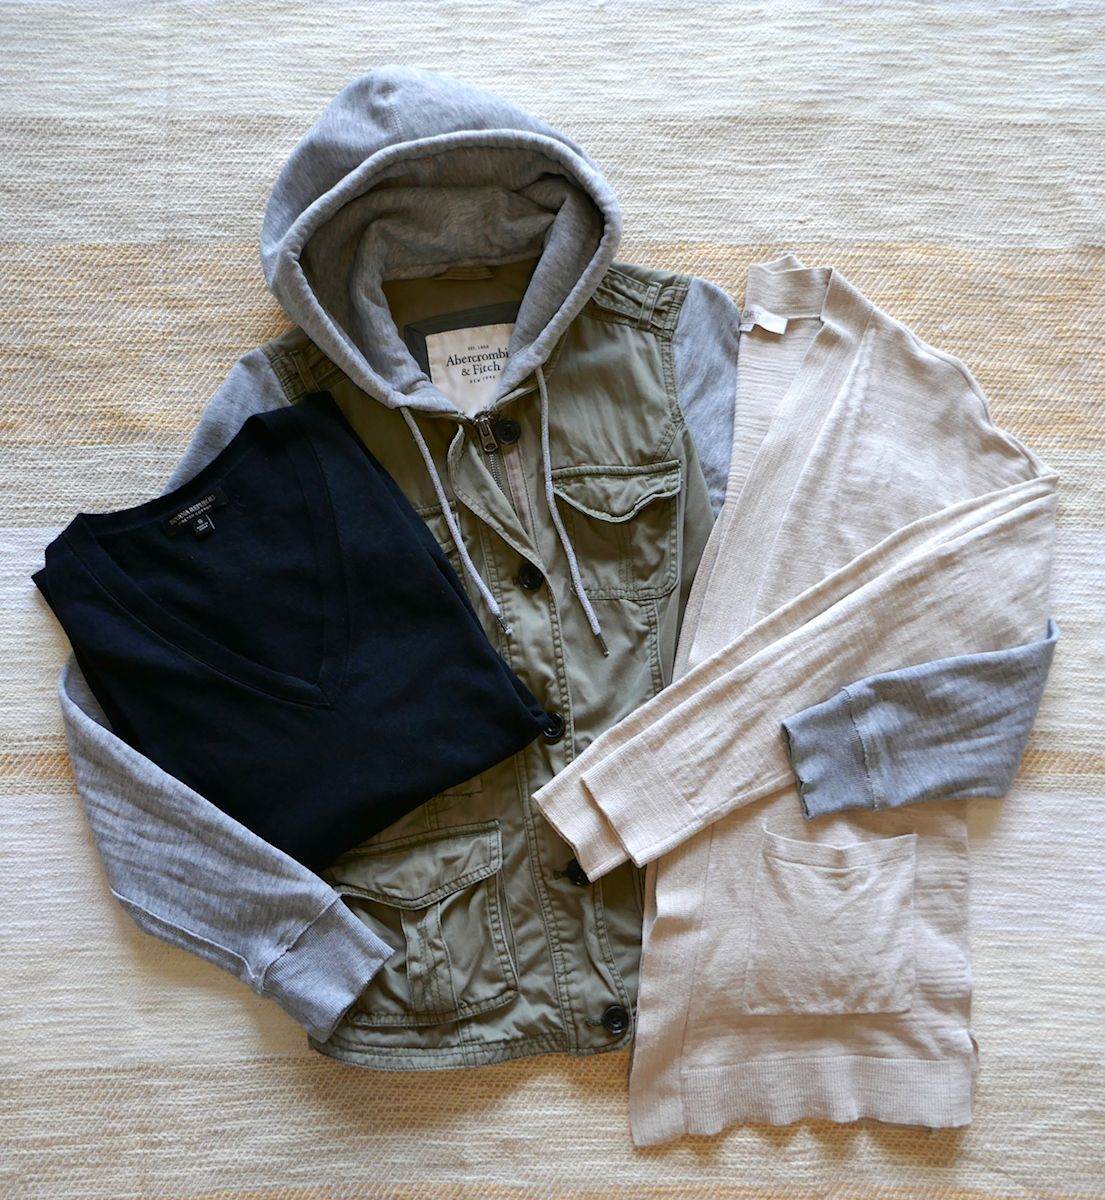
I recommend bringing a few undershirt tanks for optional layering under t-shirts and sweaters. I did not want to pack bulky bras and opted for three bralettes. Not only are they comfortable, but a great alternative if you don't need a lot of support. I also packed a swimsuit for the thermal baths in Budapest. I chose a bikini that could also be used as underwear if I was in a pinch between laundry days.
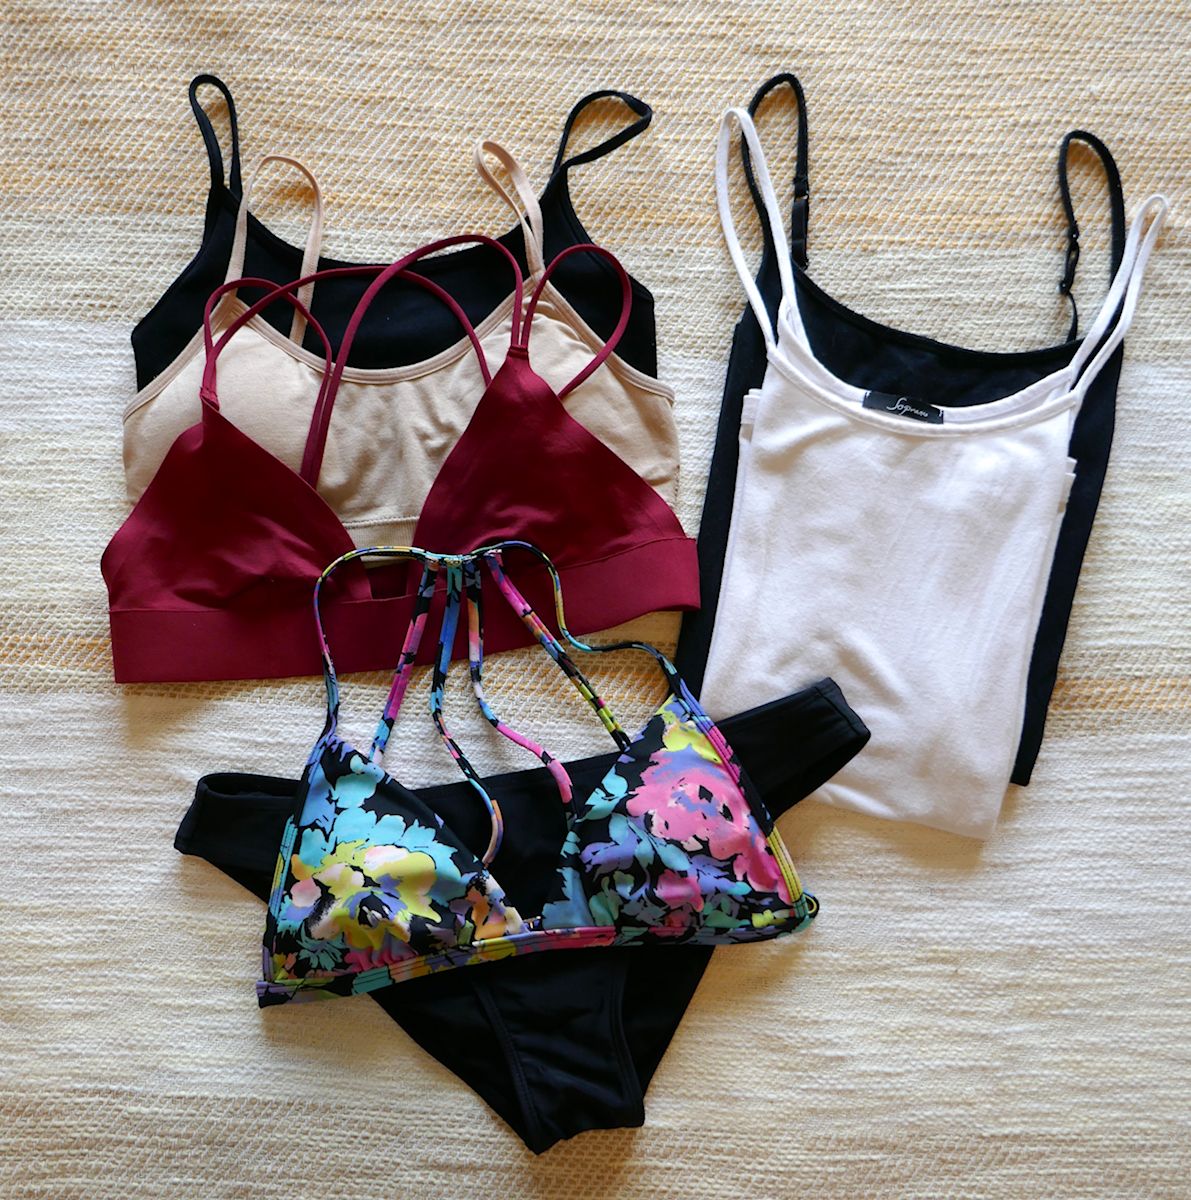
Be sure to bring a comfortable set of pajamas as well. I brought a silk set that didn't take up much space in my backpack and was appropriate to wear in the hostel common areas. I packed five pairs of underwear and three pairs of hiking socks to wear with my boots.
Step 7: Shoes
The last thing you want to think about when you are gazing at magnificent architecture or marveling at artworks inside of a museum is your aching feet. Make your footwear a priority!
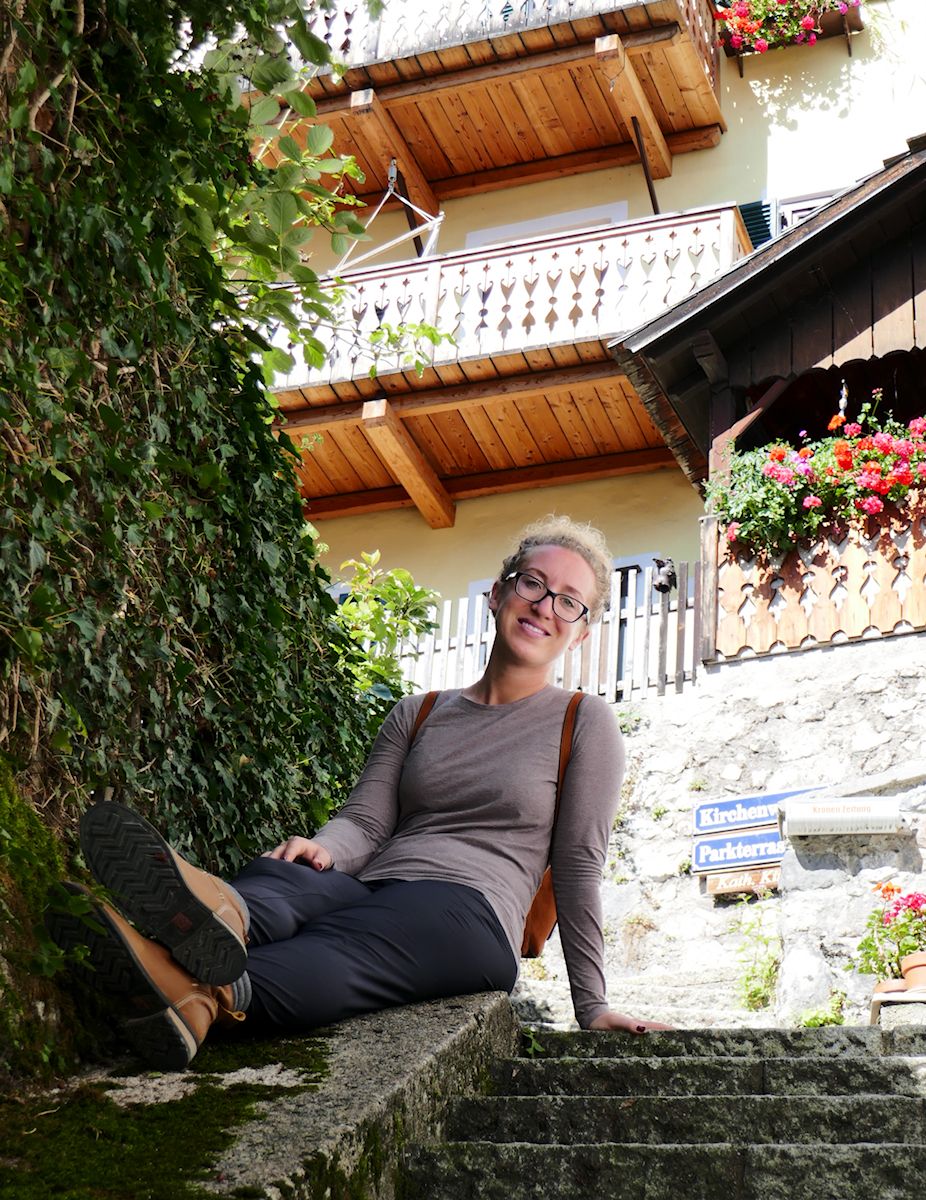
My main walking shoes were a pair of Dolce Vita suede loafers, which coordinated well with my wardrobe. Since we had a hike planned, I purchased a pair of waterproof hiking boots for the trip. The boots were warm and ideal for rainy days. I brought a pair of inexpensive flip flops for the thermal baths which I also wore around the hostels. My suede loafers were so beat up by the end of the trip that they didn't make it back home!
Step 8: Accessories
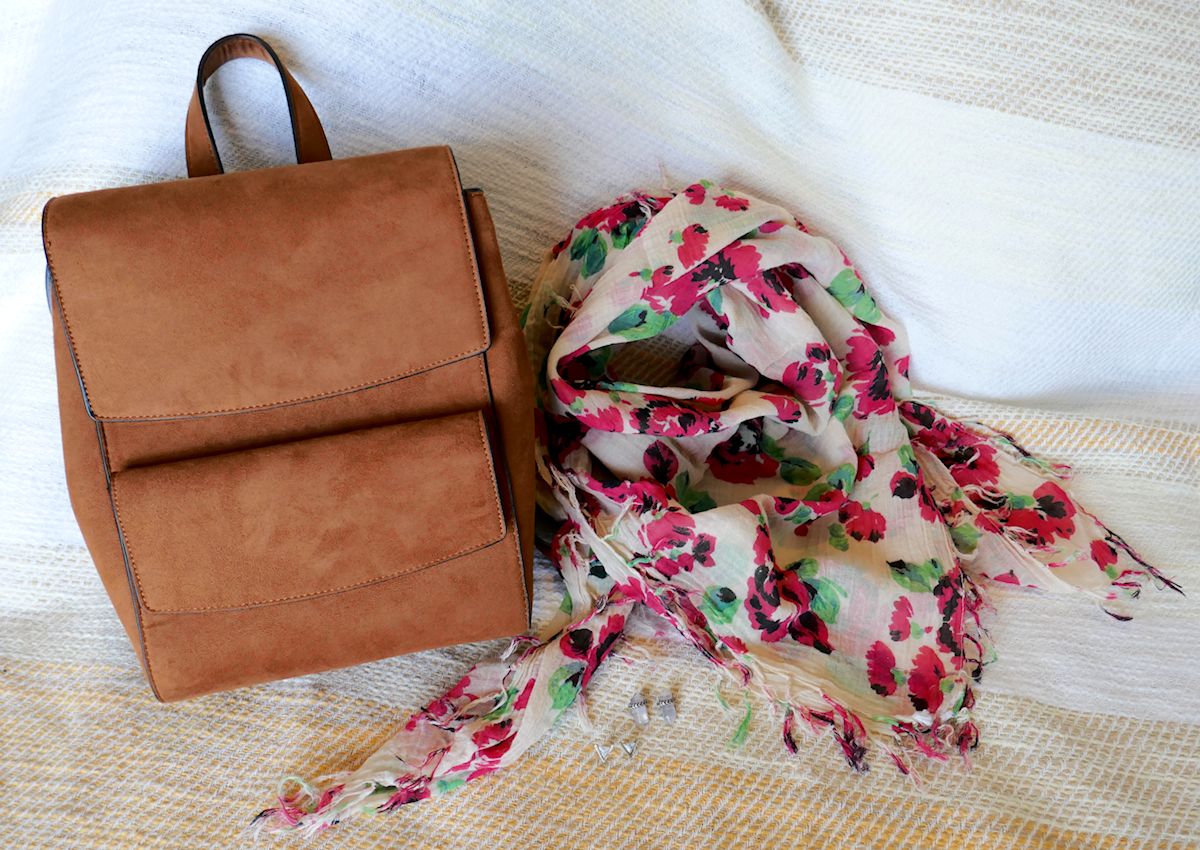
Pack a colorful scarf or jewelry to change things up, but keep accessories to a minimum. I only packed two pairs of stud earrings and one scarf.
My first trip to Europe I brought a crossbody purse, which my shoulders didn't appreciate. I bought an inexpensive faux suede backpack at Forever21 before the trip that was convenient and small enough to take inside museums. It perfectly held my umbrella, passport, journal, cell phone, tissues, and sanitizer wipes.
Step 9: Essentials
Photographs are a window to your memories and having the right camera is paramount. During my 2012 trip, I only took pictures with my cell phone because I didn't have the funds to purchase a digital camera straight out of college.
Technology is always improving and if you are satisfied with the picture quality of your cell phone, you can leave the DSLR behind. We purchased a point and shoot Panasonic Lumix DMC-ZS100 camera before the trip and valued the high resolution photographs.
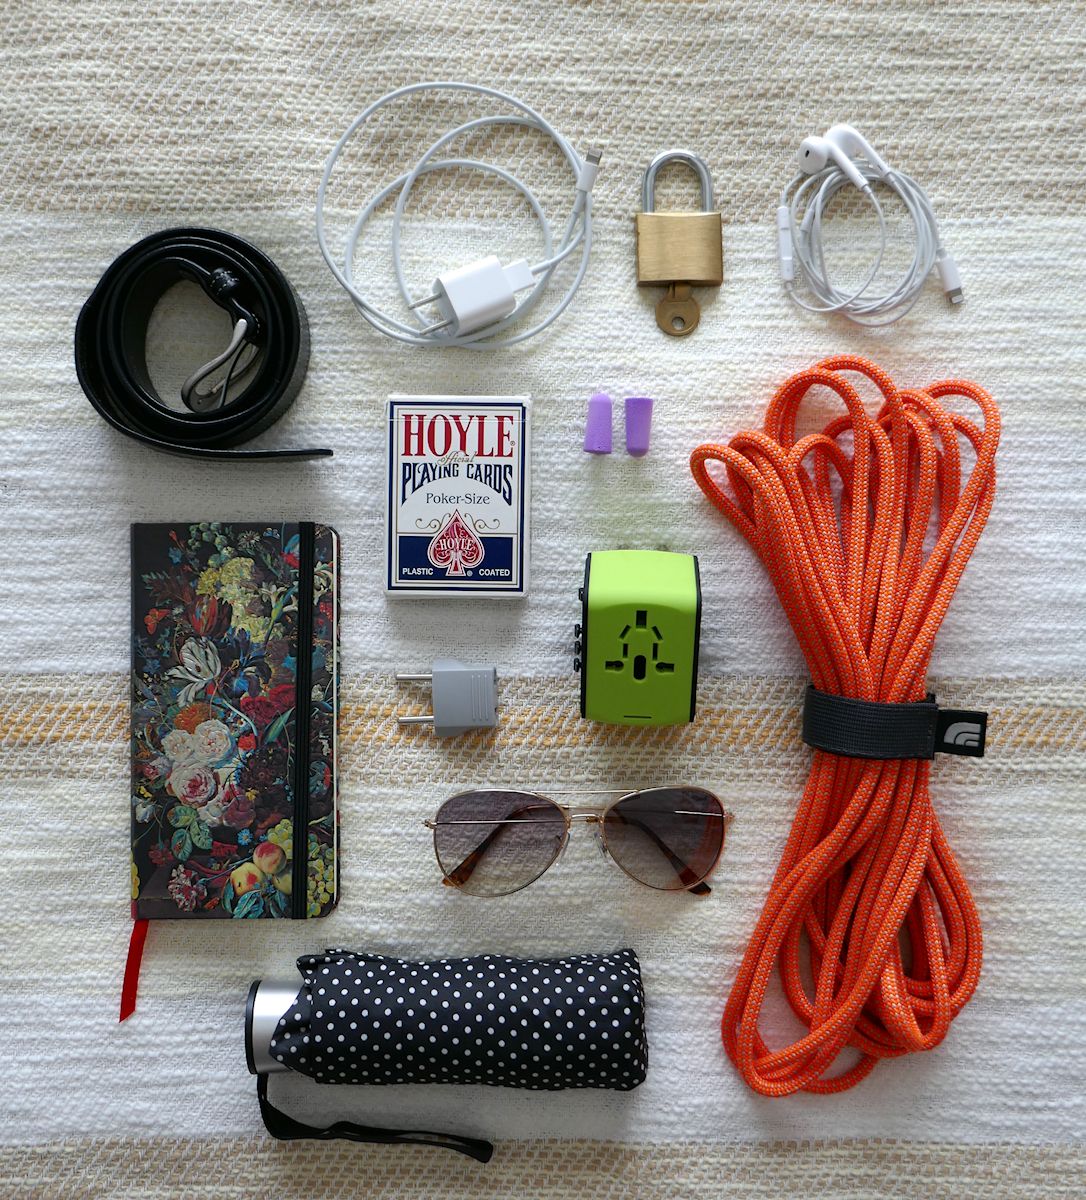
Be sure to buy a quality adapter with USB ports. Headphones and earplugs will help you tune out distractions in airports and hostels. A small umbrella is useful if you get caught in an unexpected rain shower. I documented our days in a journal, which also helped us keep score of our rummy card games. A padlock can come in handy if you are sharing a bedroom with other travelers in a hostel, but we never needed one in the private rooms.
Step 10: Trial Run
Perhaps the most important step is making sure it all fits! Practice makes perfect and you will figure out whether or not you need to remove items. Set aside the outfit you will wear on the plane which should include your bulkiest clothing and shoes to save space in your bag.
Make check lists, play around with outfit possibilities, and organize important documents. Print off tickets, copies of your passport, and email correspondence between tour agencies. Remember, extra space is not a bad thing and leaves room for souvenirs!
The more you travel, the easier packing will be. Ask your friends and relatives what did and didn't work for them on their trips. Read blogs and get inspiration from Pinterest. As long as you don't procrastinate, you will be in good shape!