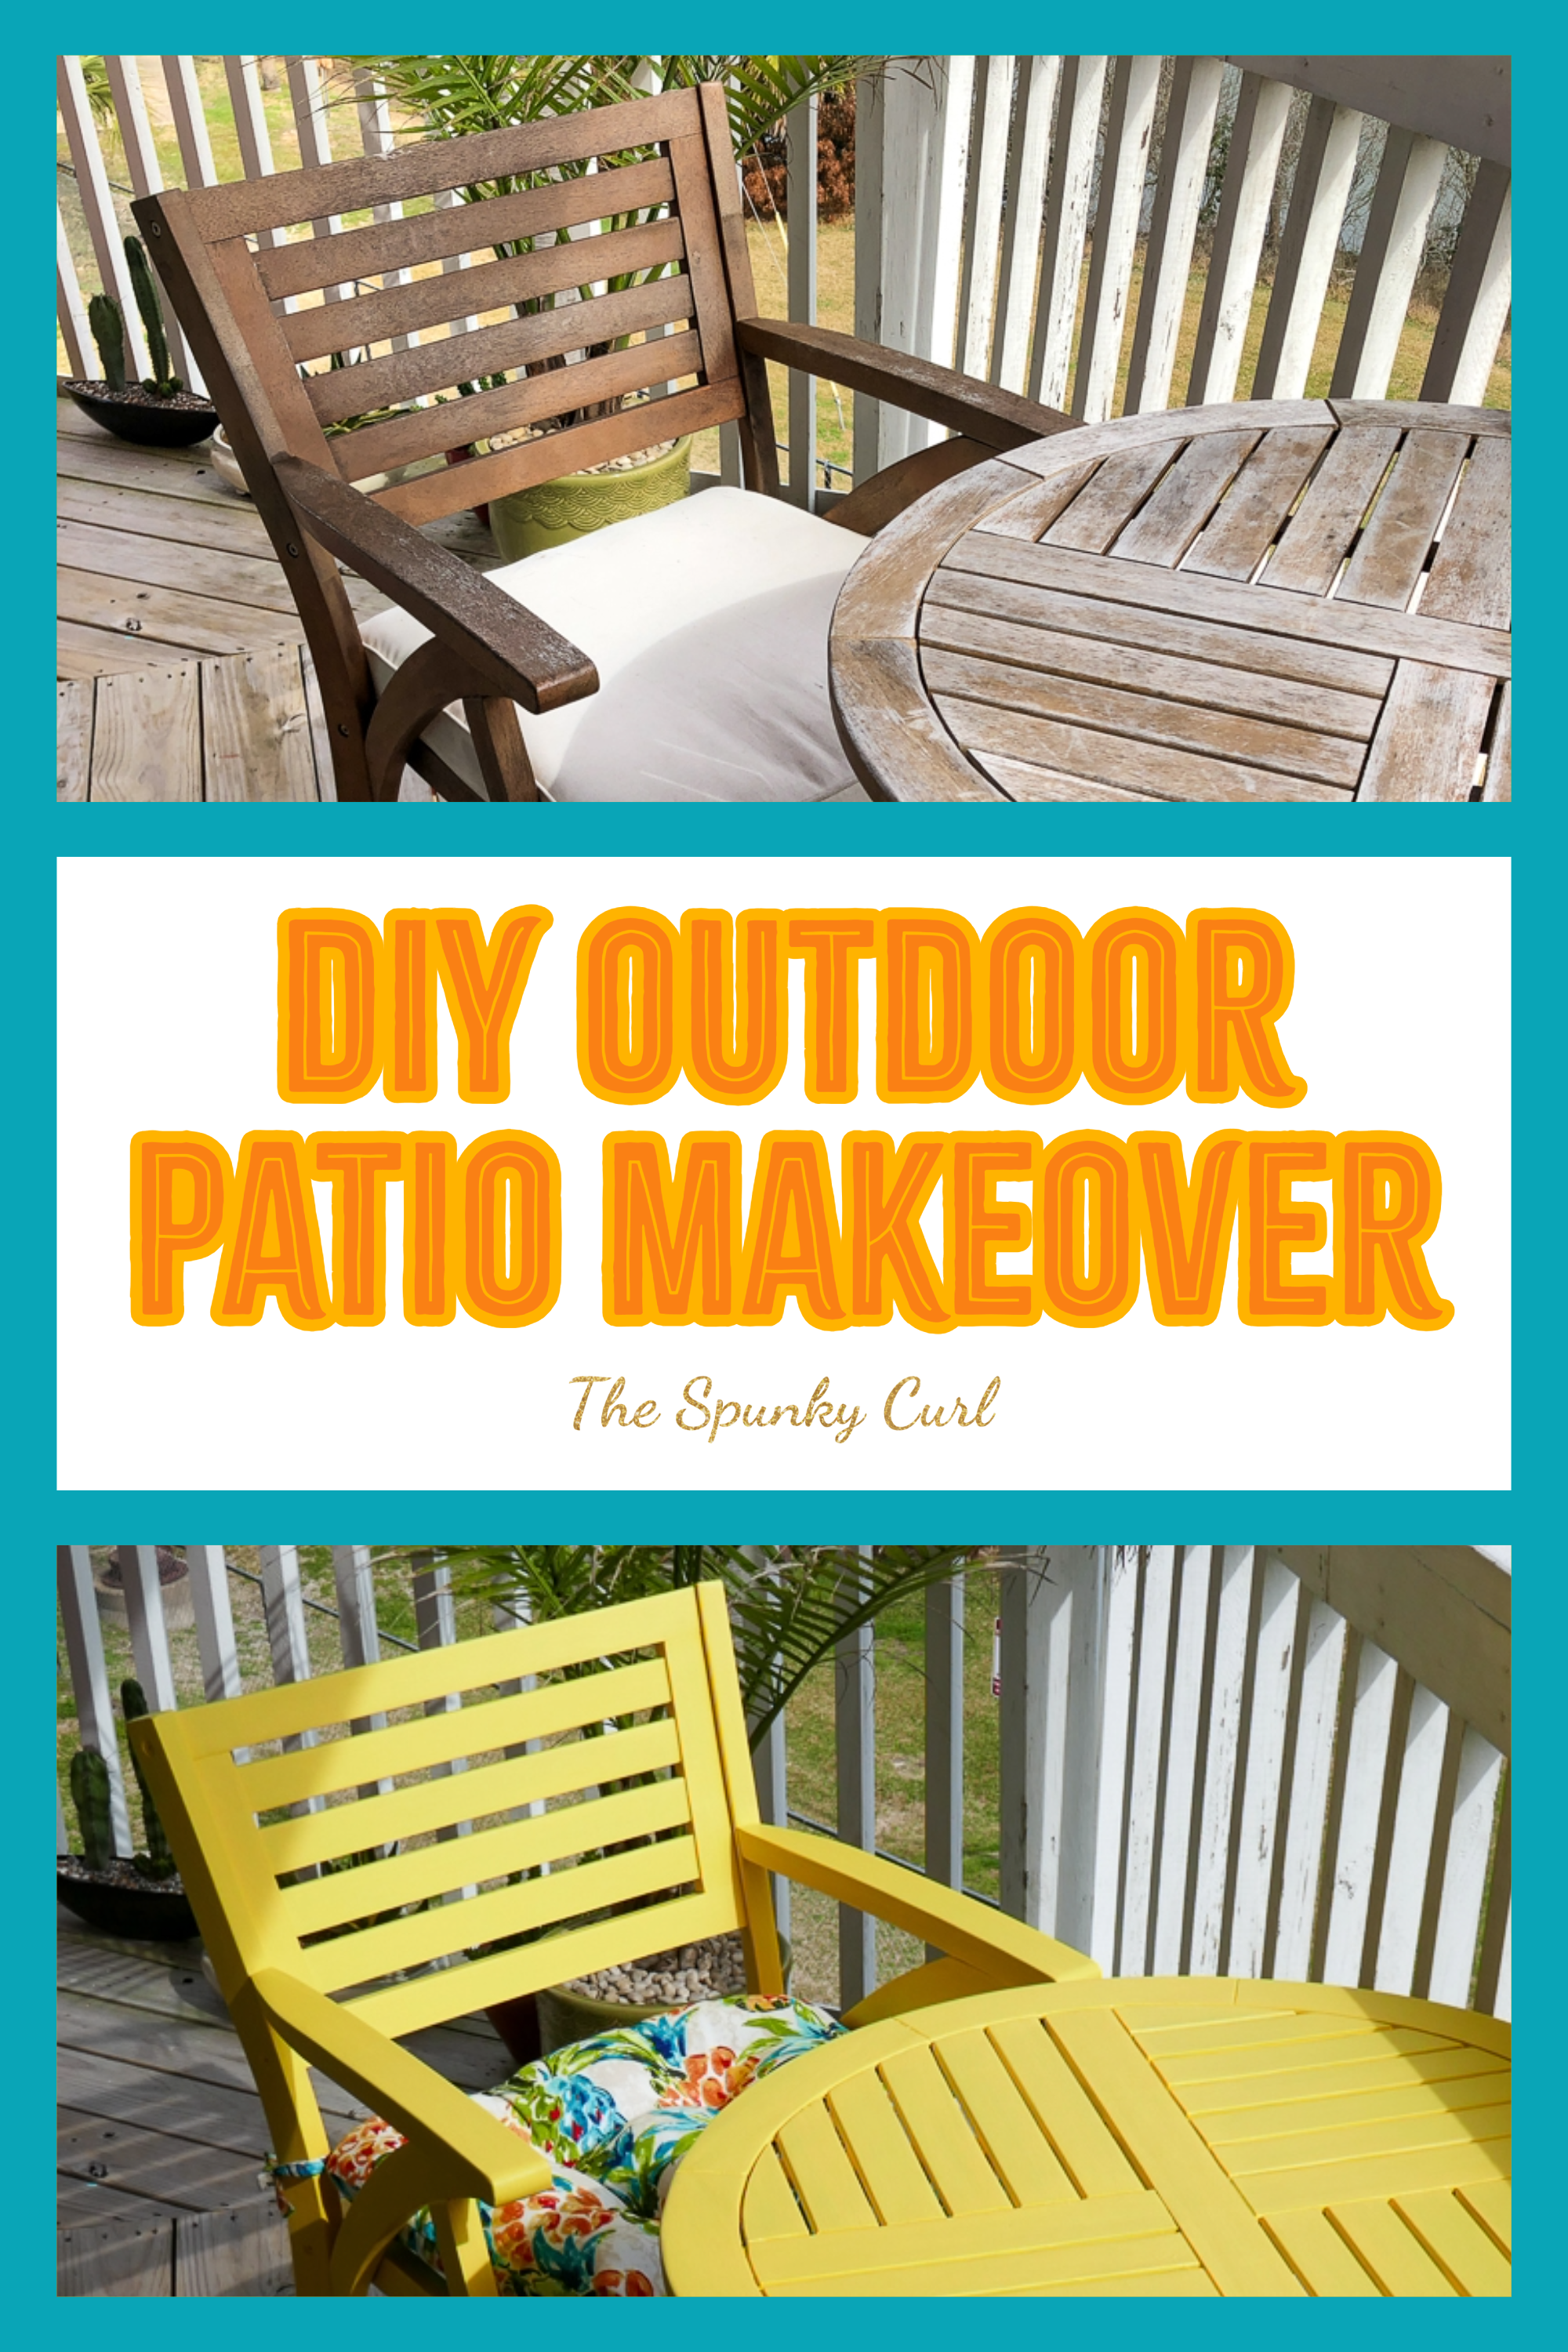
DIY Outdoor Patio Furniture Makeover
Transform your old wooden patio furniture set into a playful oasis with a dose of TLC, splash of colorful paint, and comfortable tufted cushions.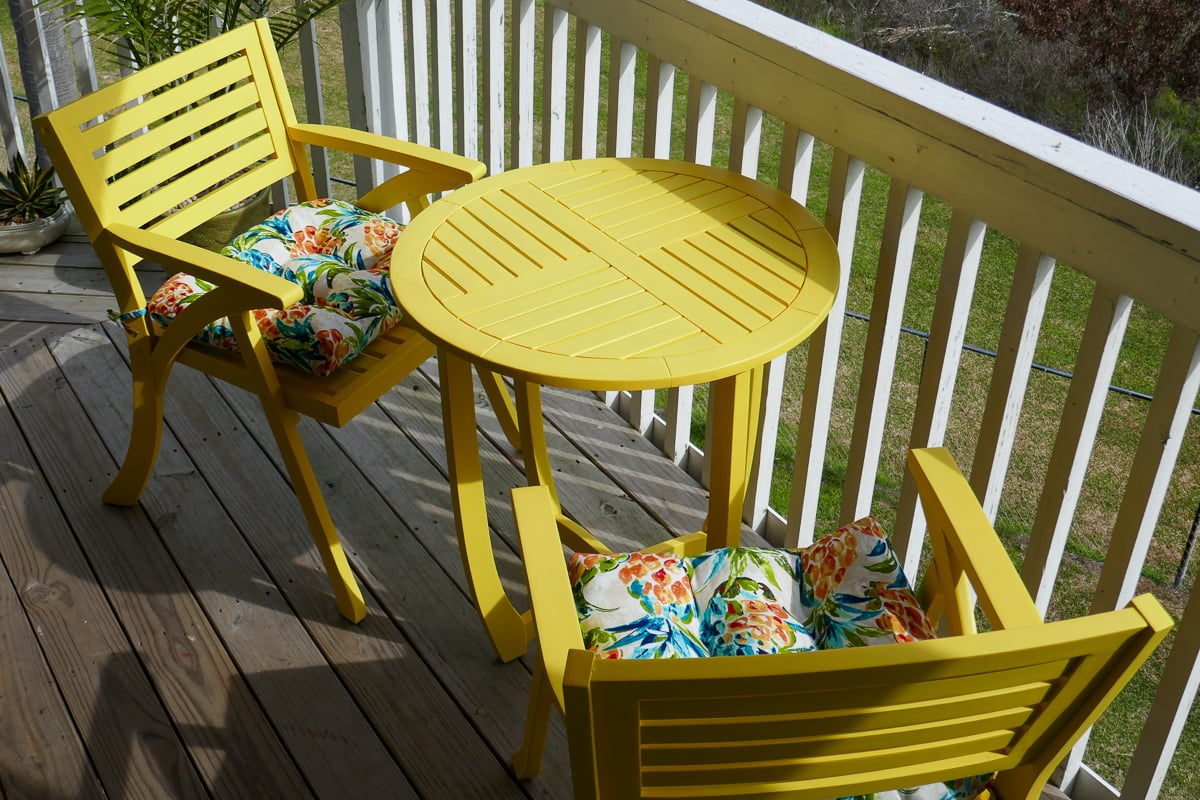
Ready to spruce up your lackluster balcony, patio, or deck with a bit of TLC? Transforming a piece of weathered outdoor furniture into a stylish masterpiece is worth the effort. After years of HGTV shows popping up on my watchlist, I was ready to roll up my sleeves and tackle my first-ever DIY furniture makeover project!
Our apartment in Galveston, Texas, has an amazing view overlooking a bayou surrounded by palm trees and birds. Brad and I like to hang out on the balcony to enjoy the salty ocean breeze, admire our cacti, and soak up the sun. Before I could enhance our private oasis with glowing string lights and colorful coastal decor, I needed to address a minor problem.
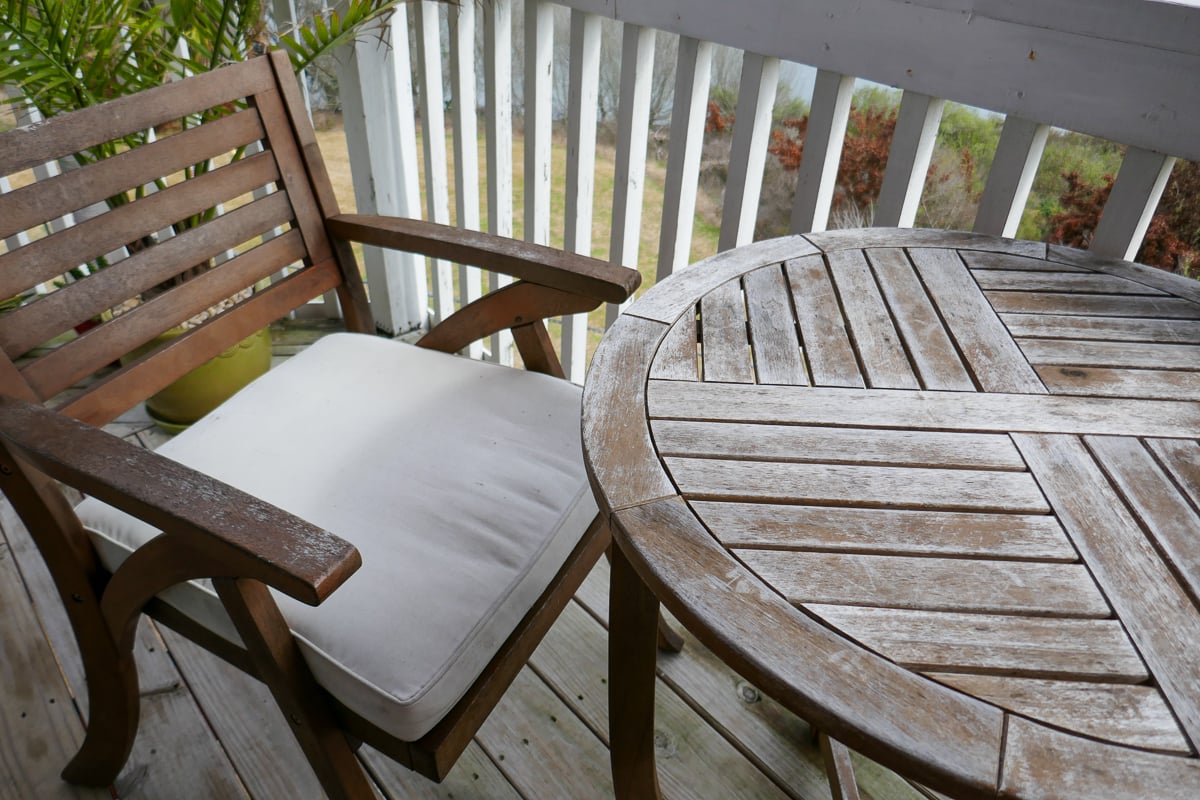
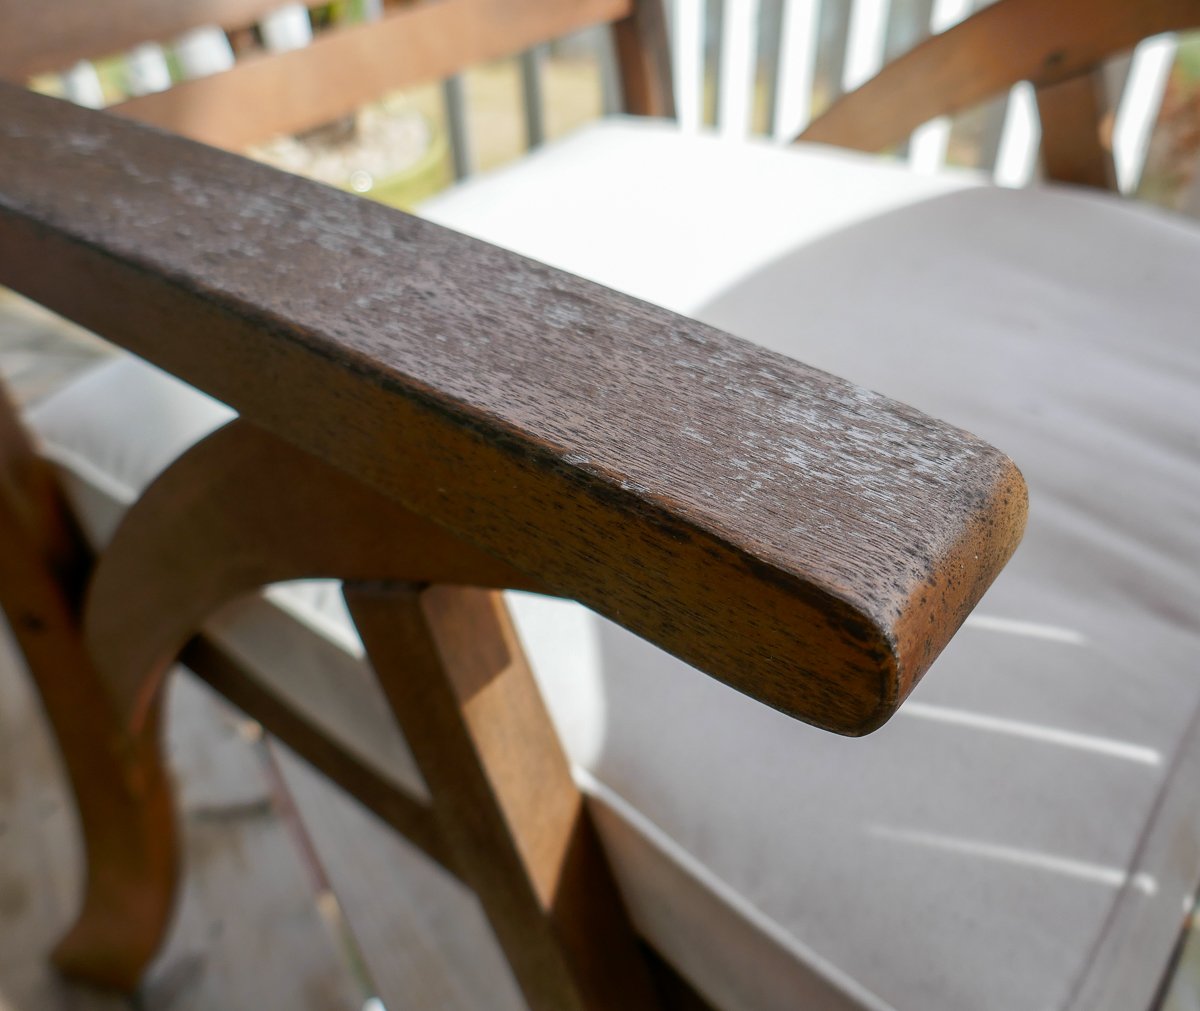
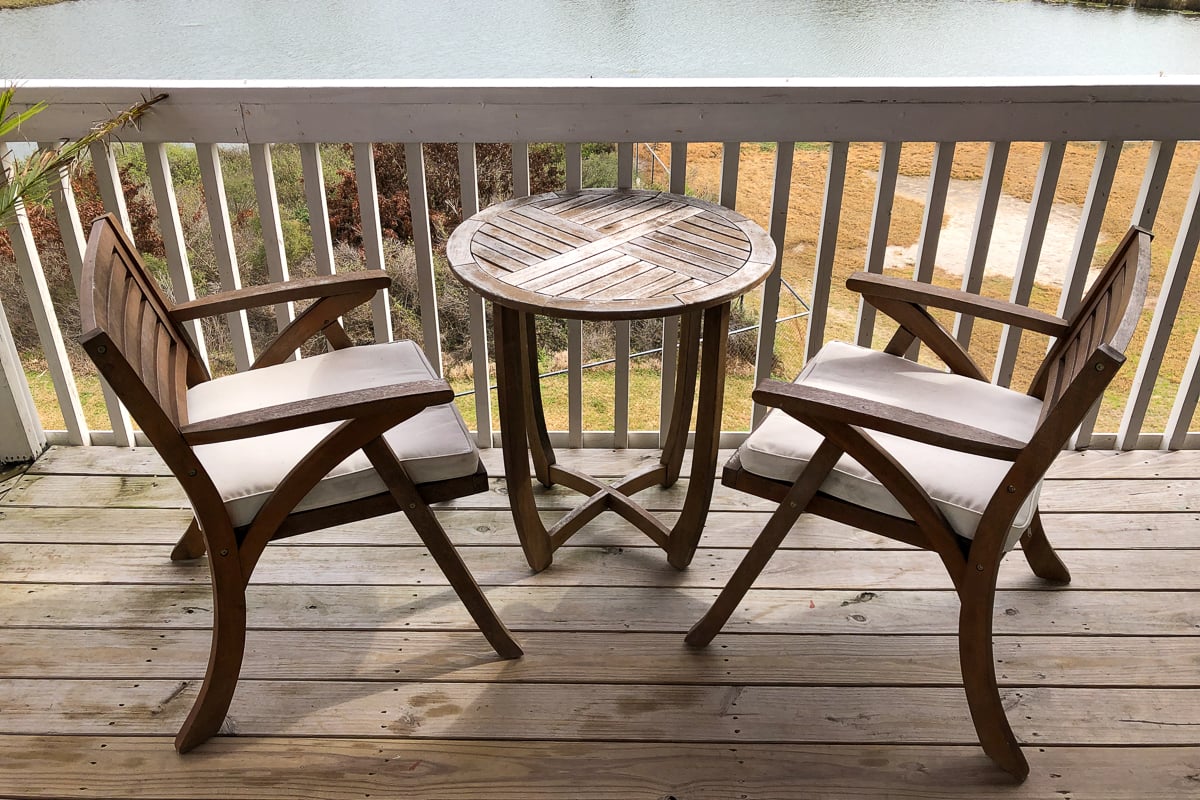
Unfortunately, our three-piece acacia bistro set with deflated cushions was no longer comfortable for our butts. We bought the furniture online via Wayfair approximately three years ago after our move to Austin, Texas. The cinnamon finish was beautiful, but gradually started to deteriorate after a year. Enough was enough!
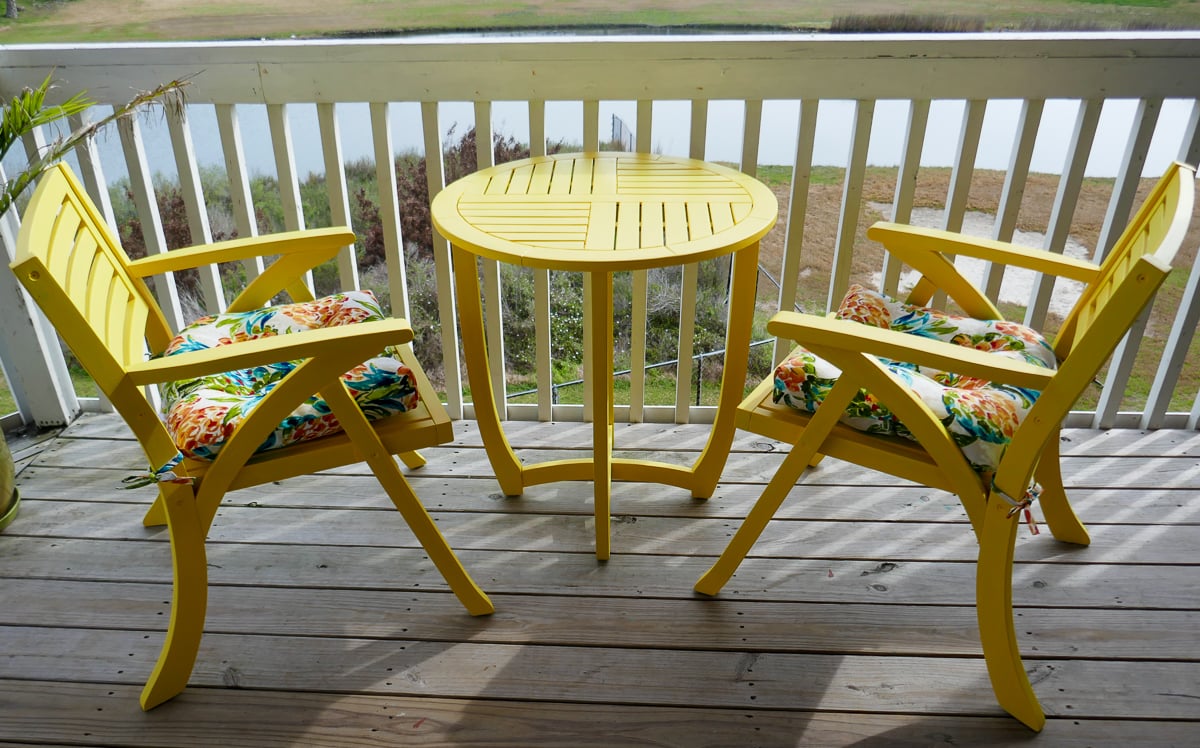
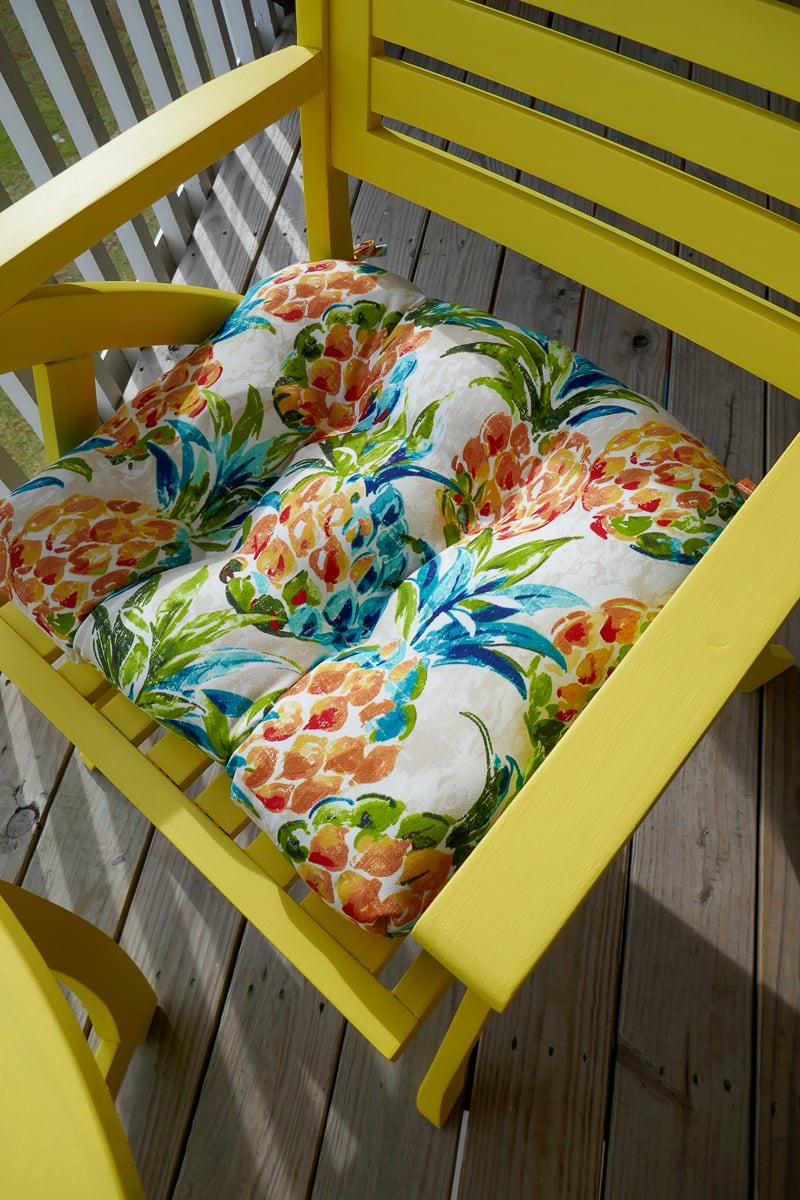
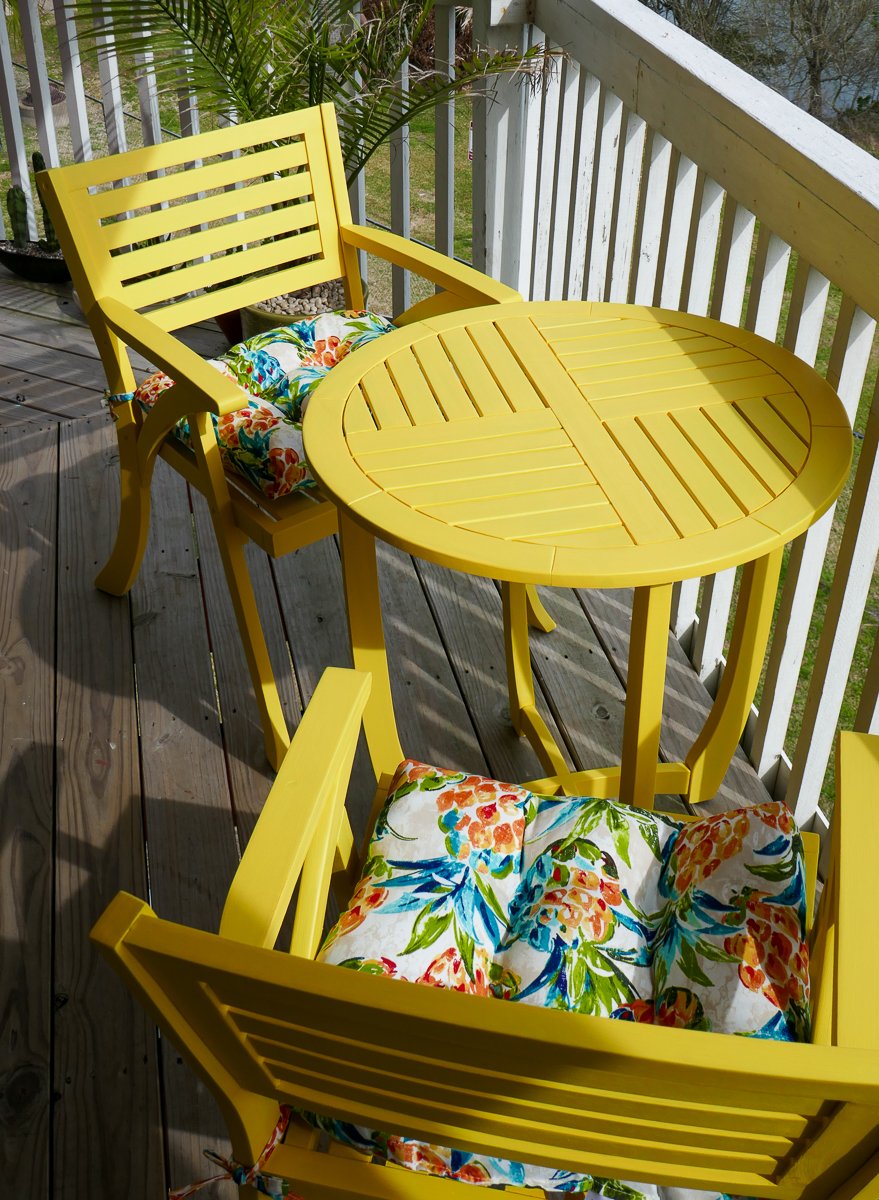
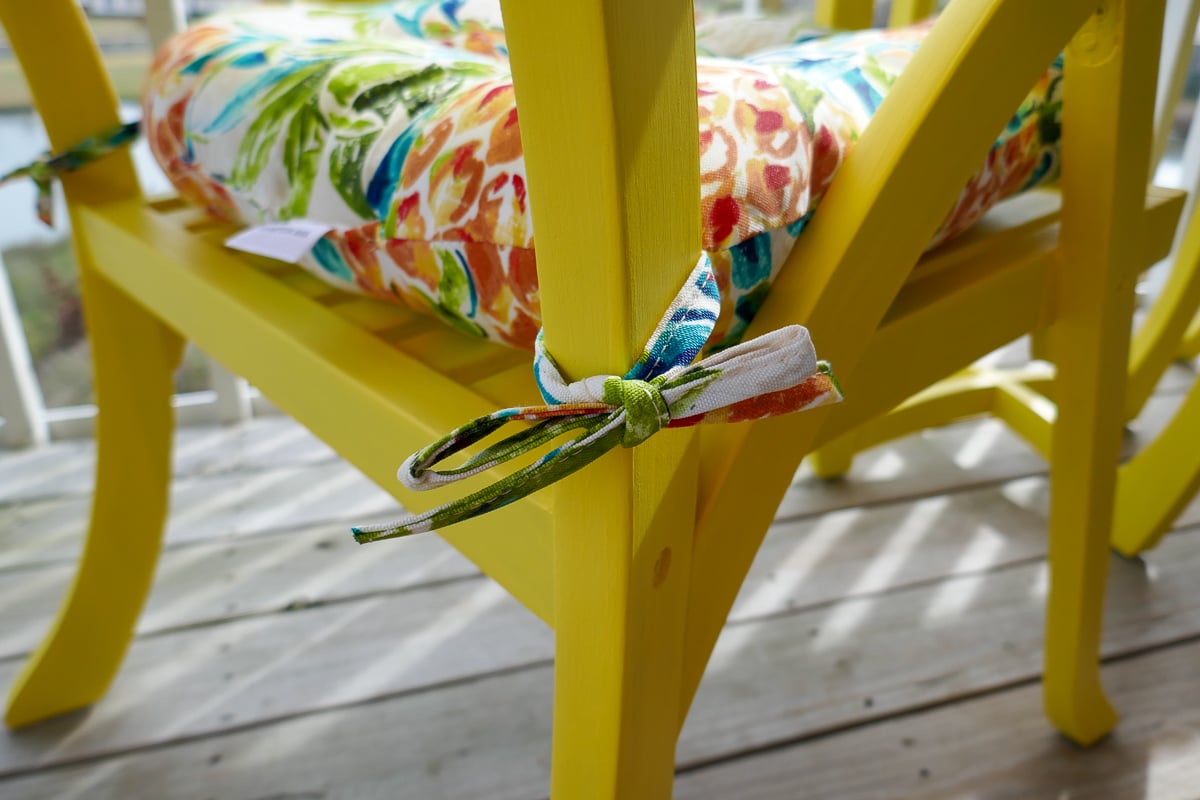
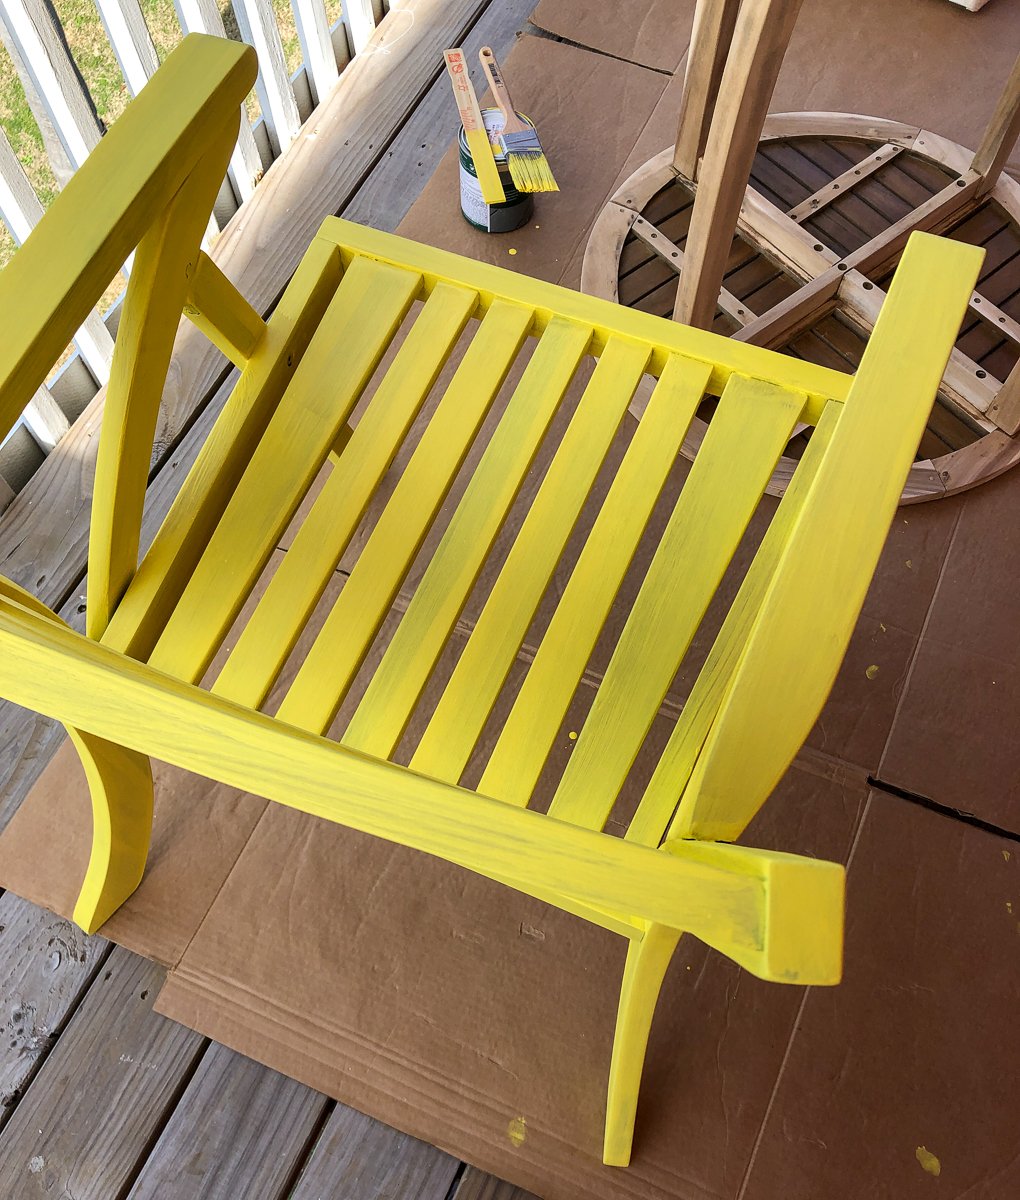
A lightening bolt of inspiration struck me once I saw a vibrant pair of Hampton Bay tufted pineapple square cushions at The Home Depot. I decided to redo the entire bistro set and paint it with a bright yellow hue to evoke a funky island vibe. Look at it now, WOWZA!
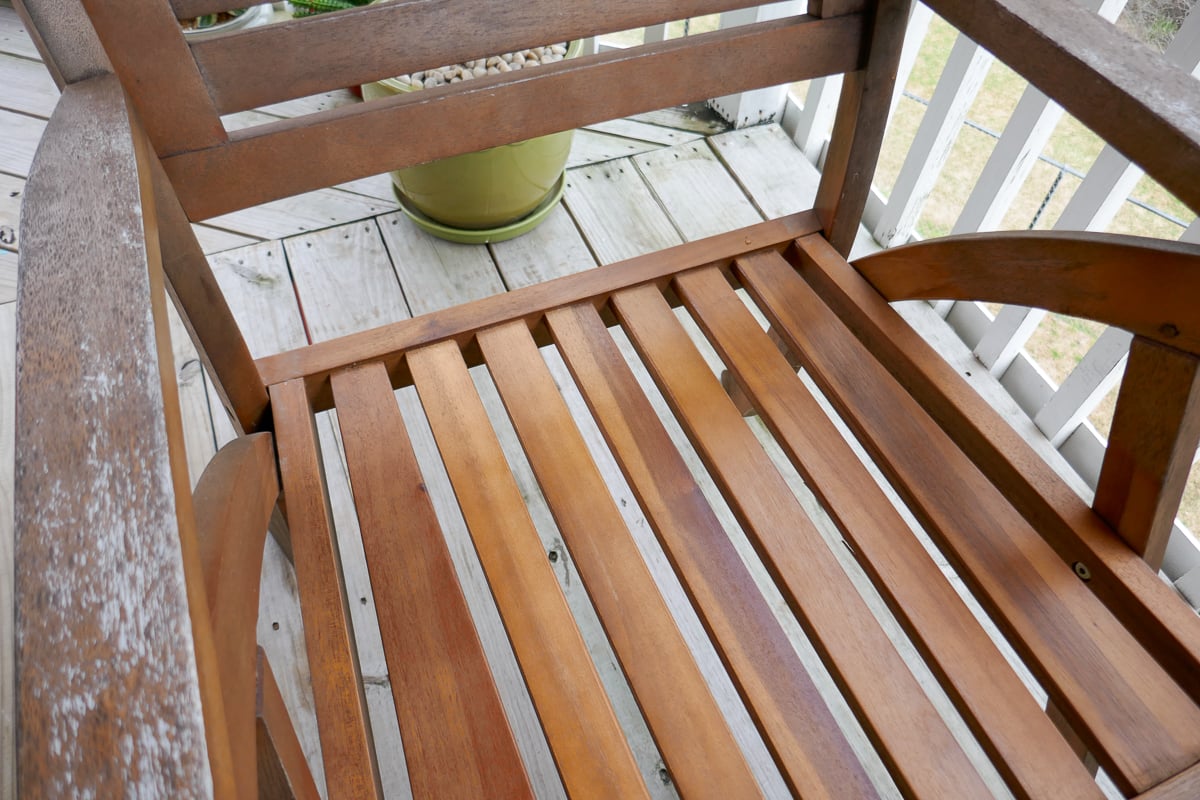
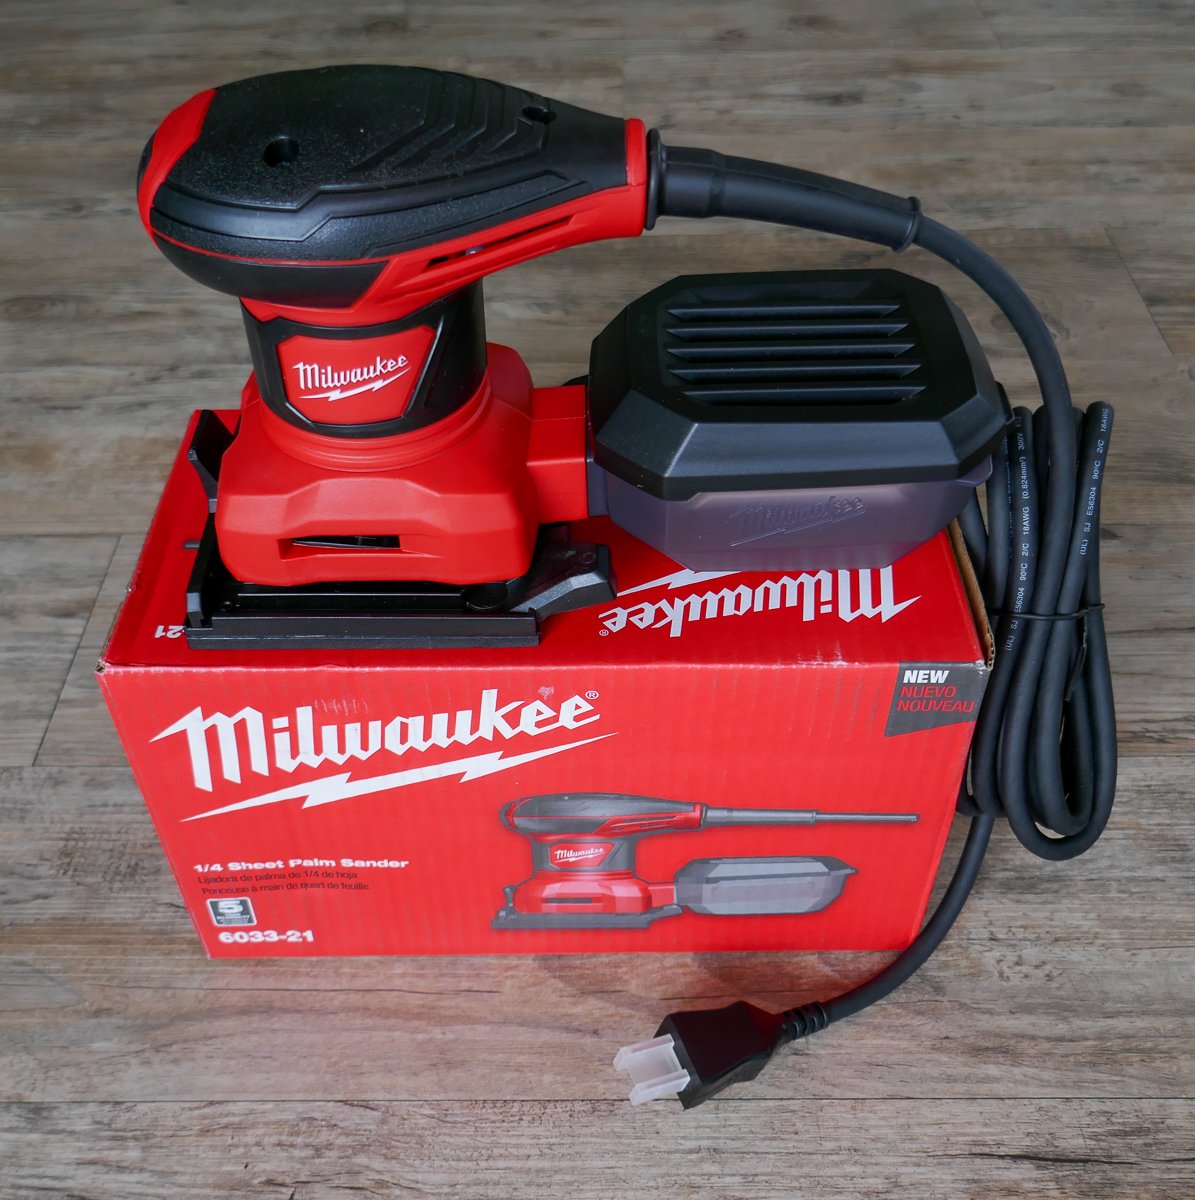
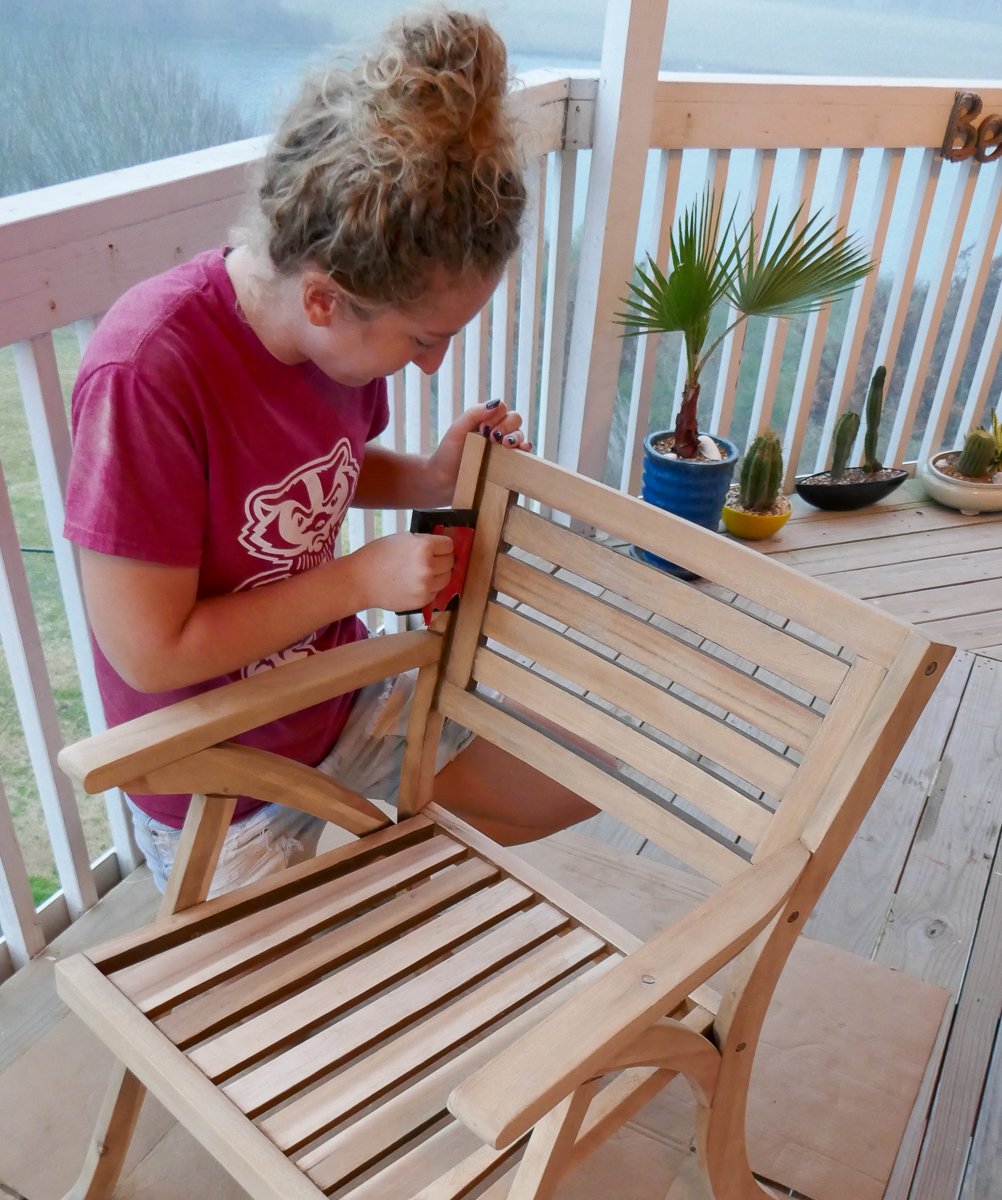
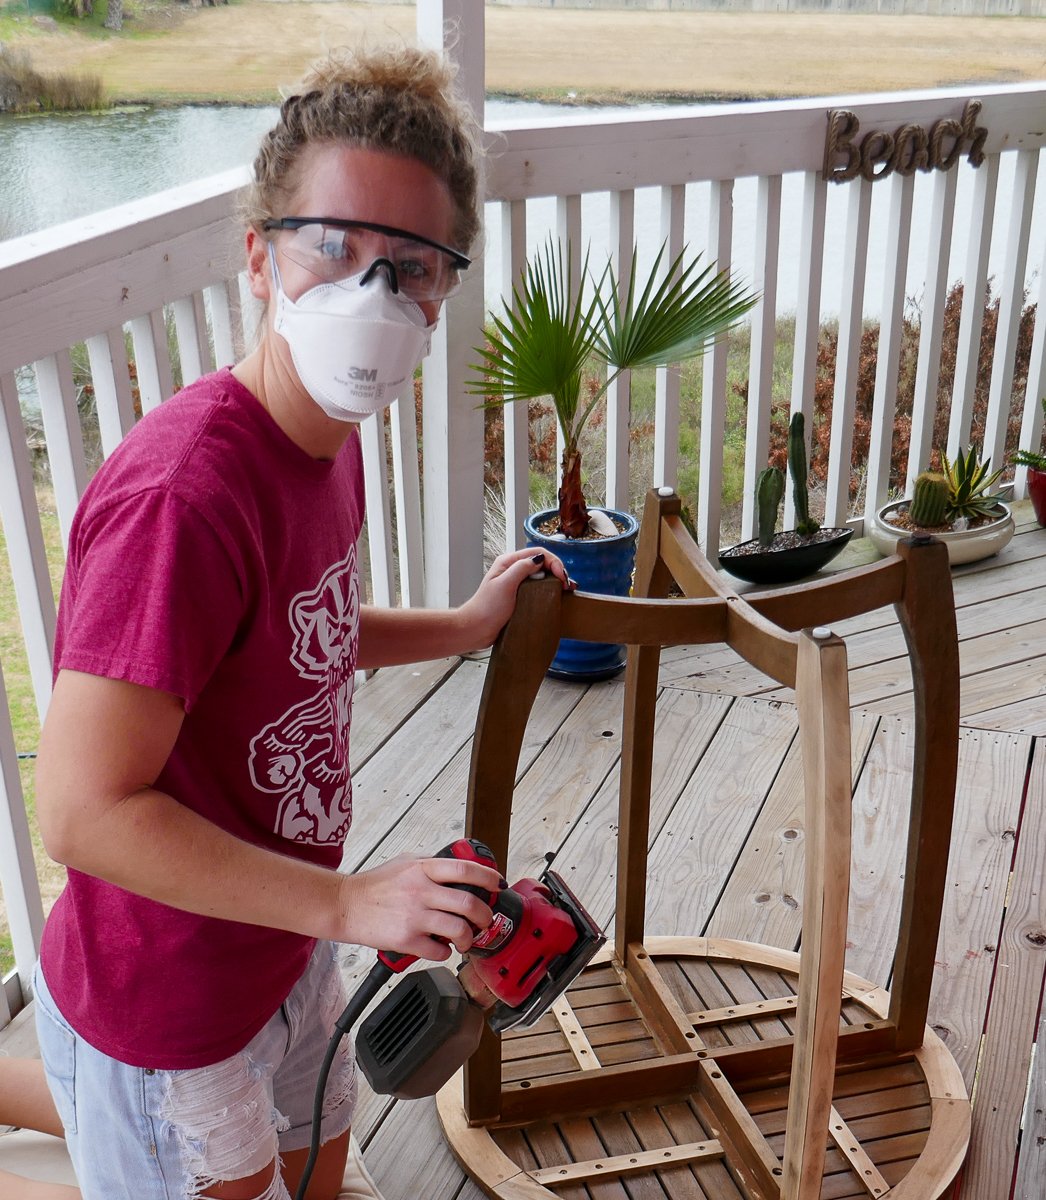
Initially, I planned on renting a handheld sander at The Home Depot for a few days to remove the stain. After comparing prices, it made more sense to purchase a new Milwaukee 3 Amp 1/4 Sheet Corded Palm Sander that I could also use for future projects. I was beyond stoked to have my first power tool!
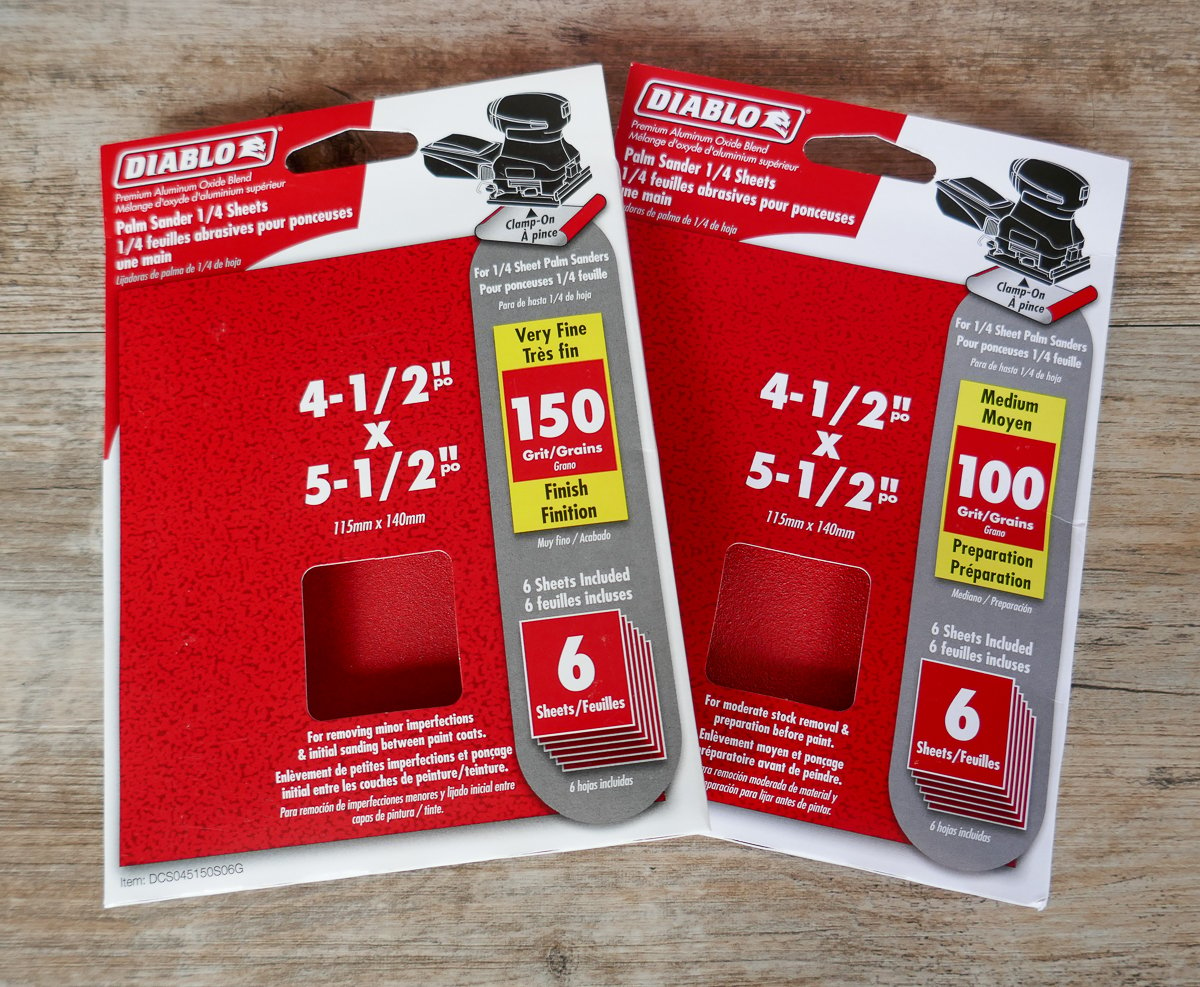
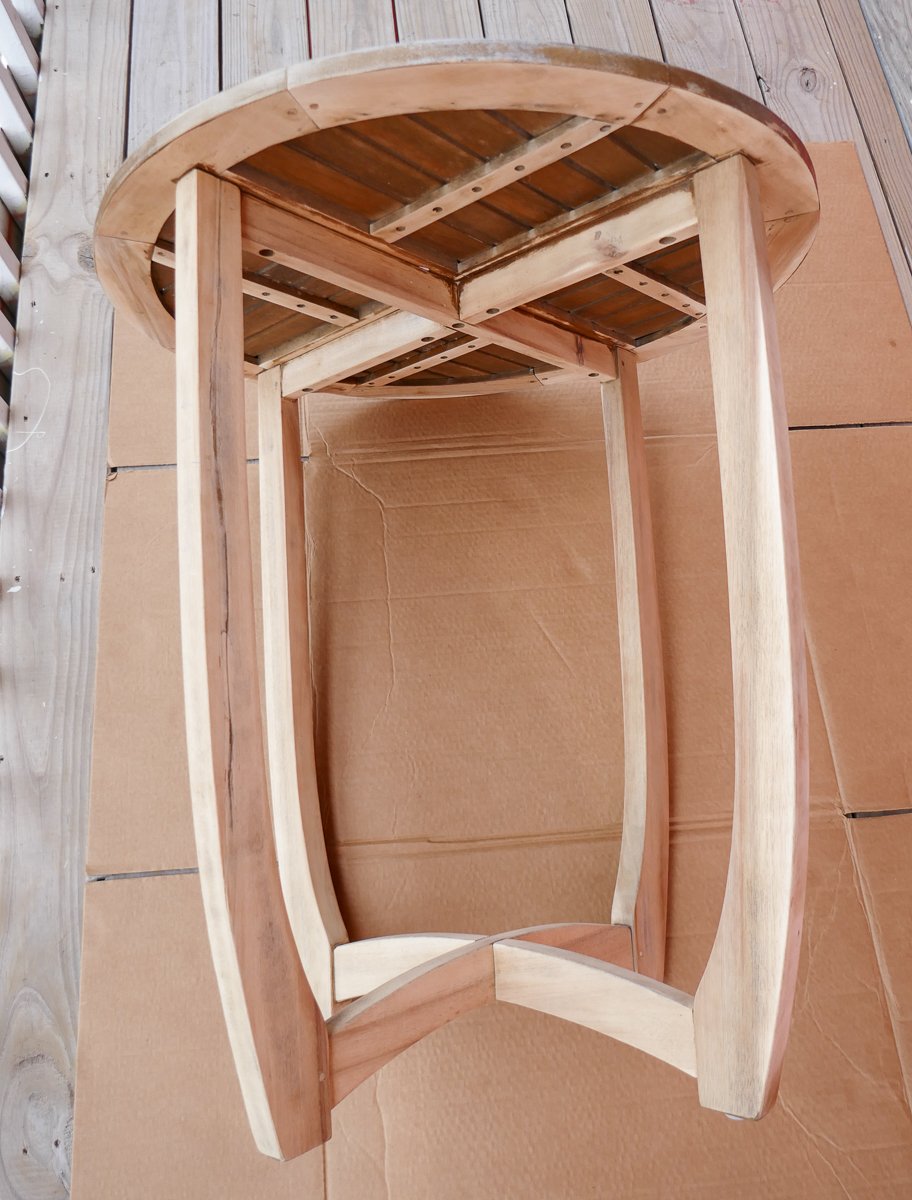
I picked up two types of rectangular sanding sheets by Diablo. During my first round of sanding, I applied a 100 medium grit to take off the stain. Once all of the furniture was bare, I switched over to a 150 fine grit to create a smooth surface for painting. Thankfully, my neighbors didn't complain about the obnoxious racket.
The handheld sander worked extremely well and provided an intense upper body workout. The most tedious part was sanding the nooks and crannies by hand. Perhaps I went a tad overboard, but I figured a uniform canvas would result in a stellar paint job. A sturdy N95 mask and pair of safety glasses helped minimize my exposure to wood dust. I was covered in the stuff for days!
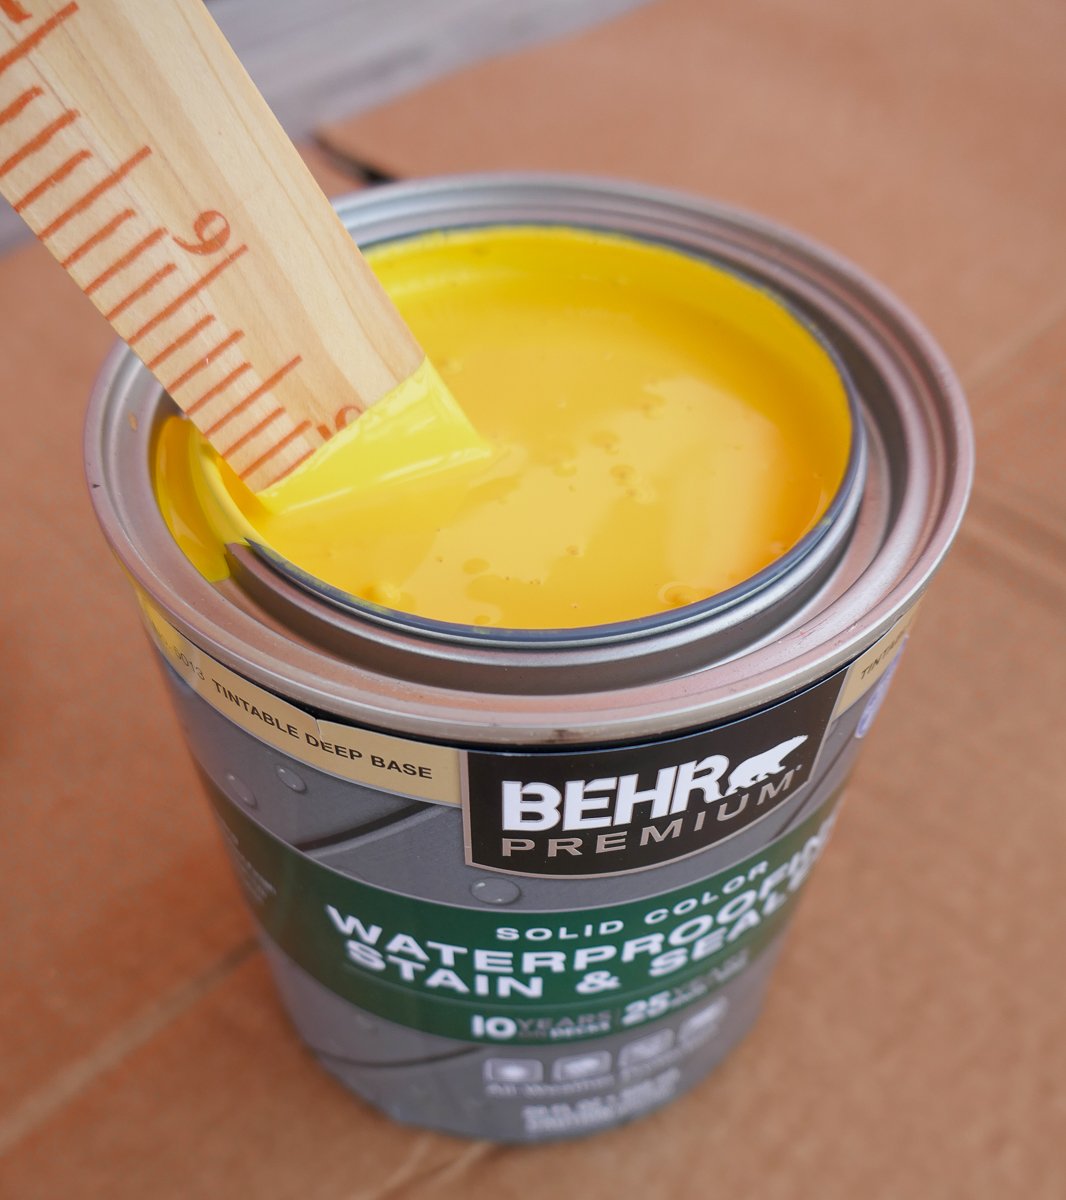
Before I applied the first coat of paint, I wiped down the patio set with a dry rag and soft brush to remove any residual wood dust. A helpful associate at The Home Depot recommended one quart of BEHR Premium Waterproofing Stain & Sealer and mixed in pigments to create BEHR Buzz-In yellow. There was no going back after opening the paint can!
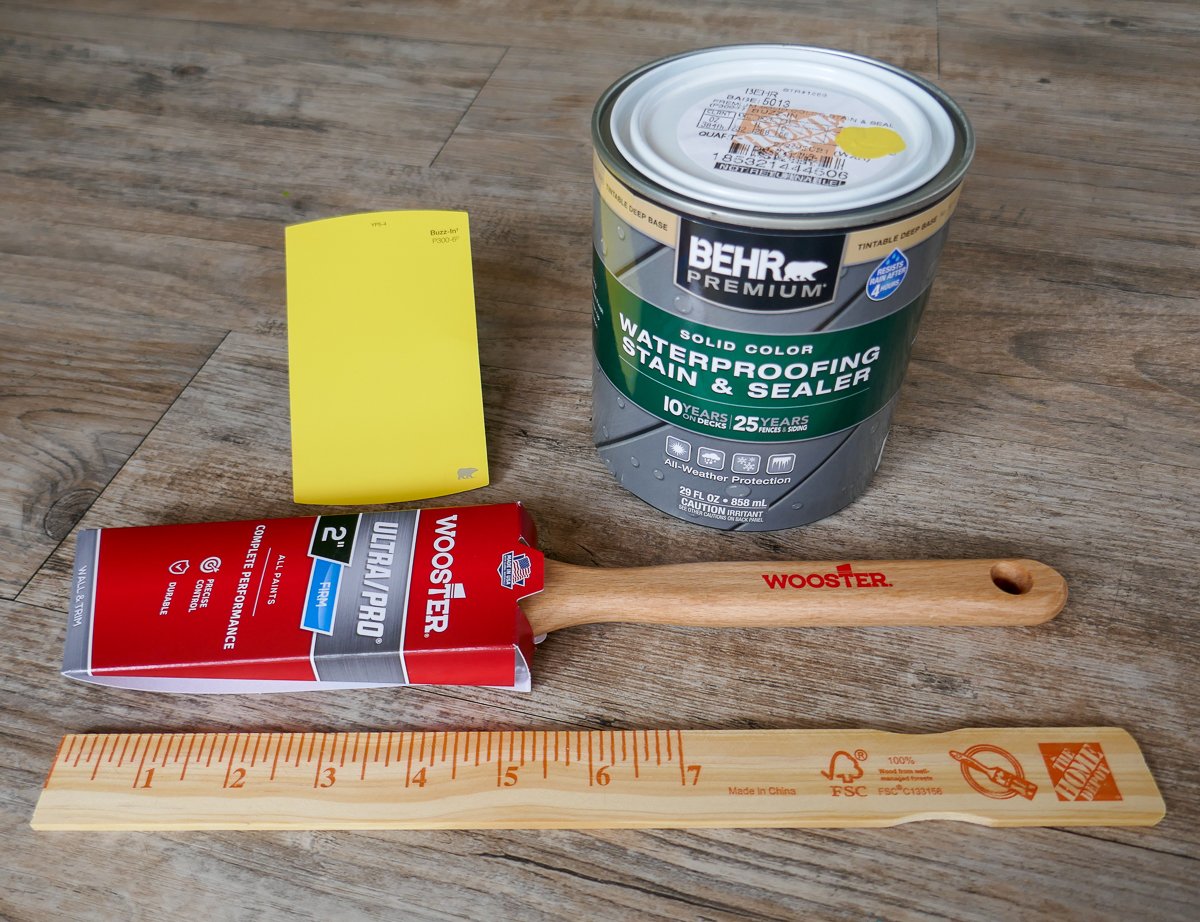
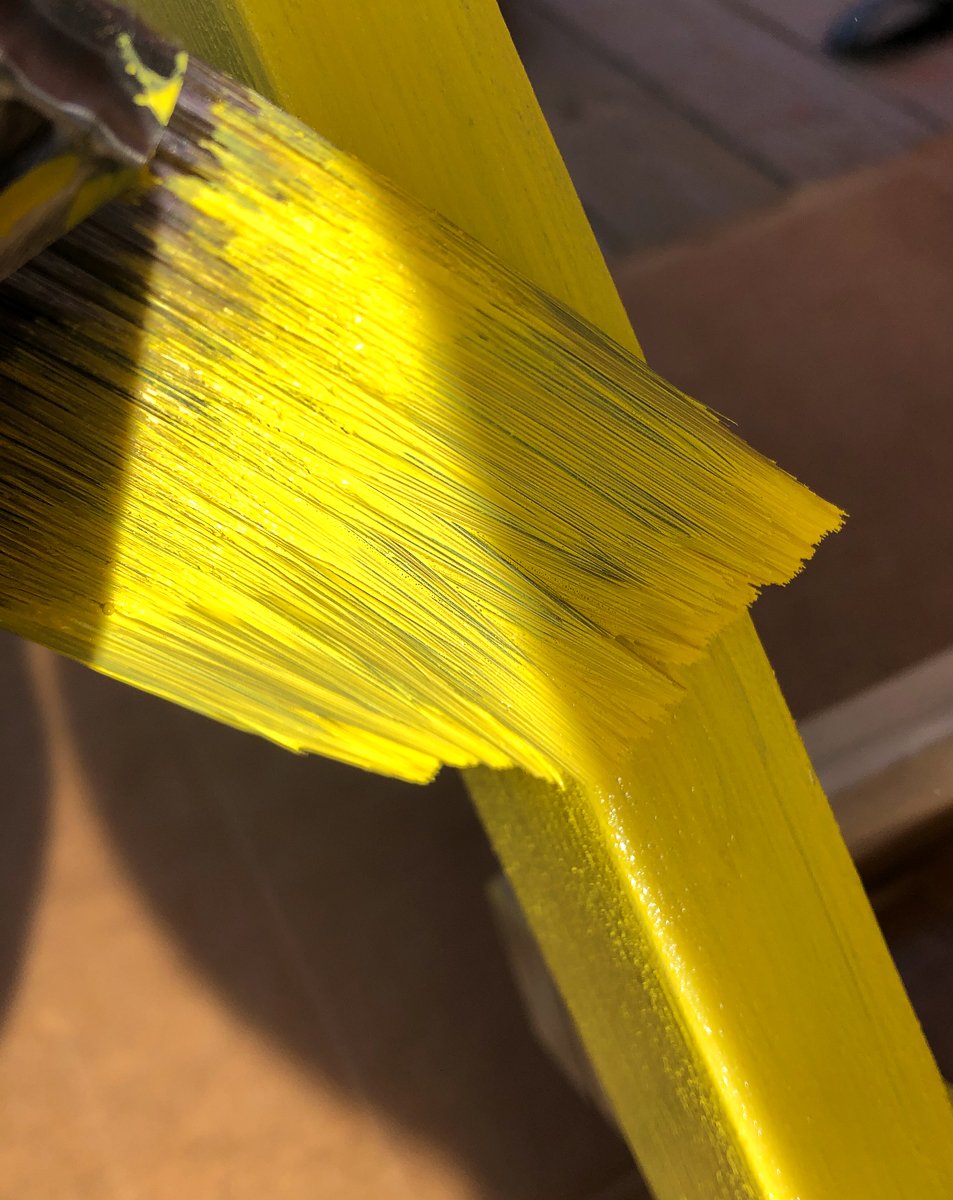
I chose a firm Wooster Two-Inch Angle Sash Brush to reach in between the narrow slats. The comfortable brush was easy to control and wash. I deployed a tiny makeup brush to assist with the time-consuming table top crevices. The quart was enough for two coats, plus some leftover paint for future touch ups.
Taking a seat and relaxing with a cold cocktail in hand was the perfect way to celebrate our tropical bistro set. I couldn't believe what a spontaneous idea and week of elbow grease could produce! Breathing new life into a shabby piece of furniture not only improved our balcony, but ushered in a newfound desire to upcycle and renovate.